Internet & Computers
Everything to do with the Internet, computers, software and websites.
-
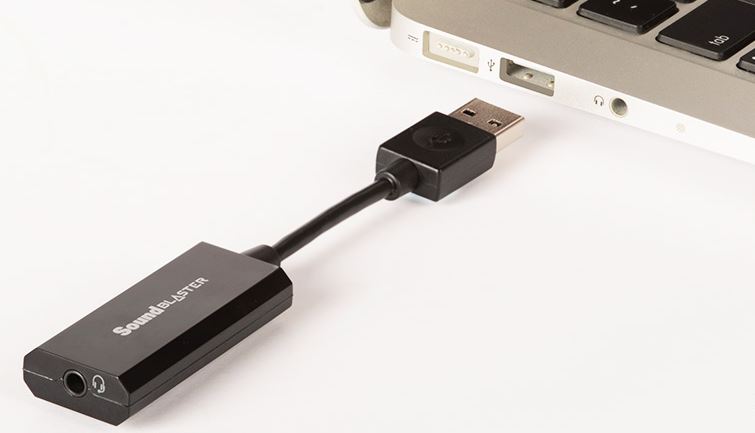
Sound Blaster Play! 2 USB Sound Card Review
When I got my HP 17t laptop, it was running Windows 8.1 and my old driver for my Xitel Mp3 Streamer no…
Read More » -

How To See Your Google History
Have you ever watched a crime related TV show where the detectives find incriminating searches on the perps laptop? It’s…
Read More » -

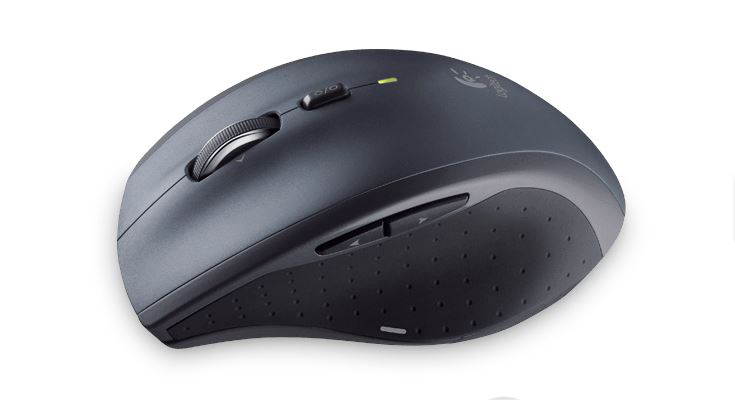
Logitech Wireless Mouse M525 Review
Back in 2008, I got my Toshiba Qosmio Laptop and upgraded my mouse to the Logitech V540 mouse. Since then, I’ve…
Read More » -

Google Express in West Los Angeles – Quick Review
When I upgraded from my Dell Studio 17 (Windows Vista) to the HP Envy 17t (Windows 8.1), the USB driver was…
Read More » -
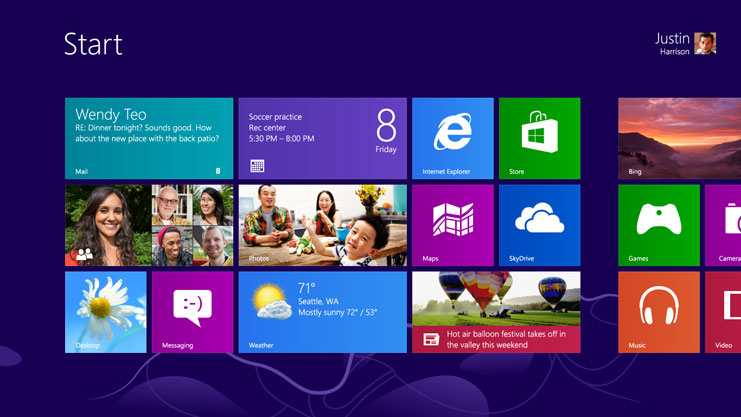
Why I Love & Hate Windows 8.1
After upgrading the HP Envy 700-330qe Desktop and HP Envy 17t laptop, both running Windows 8.1, I’ve come to love and hate…
Read More » -
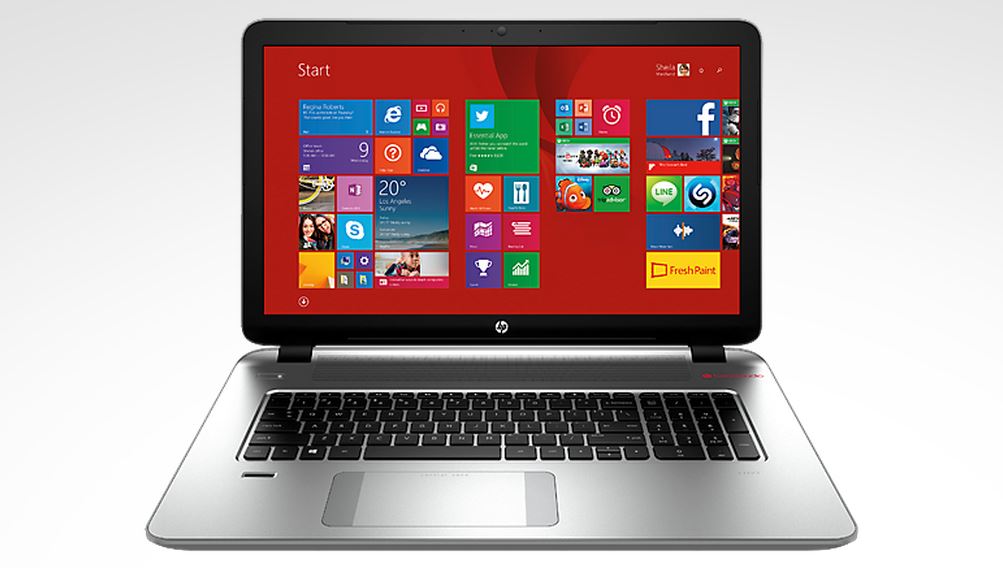
HP Envy 17t Laptop (K2Z69AV_1) Review
My old laptop, the Dell Studio 17 (Windows Vista), has been a real workhorse for me since 2009. But it was feeling…
Read More » -

Drobo 5N Review
Back in 2012, I replaced my Buffalo Raid with the now discontinued Drobo FS NAS from Drobo. Just a few weeks…
Read More » -
Logitech Marathon Mouse M705 Review
After upgrading my desktop to my new HP Envy 700, I decided to also upgrade my mouse to the Logitech M705,…
Read More » -
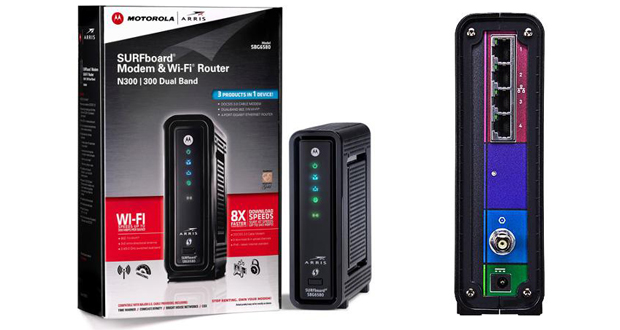
Motorola SBG6580 Cable Modem & WiFi Setup & Review
After what I assume as an automatic upload of new firmware to my very old Ooma Hub VOIP box, which was…
Read More » -
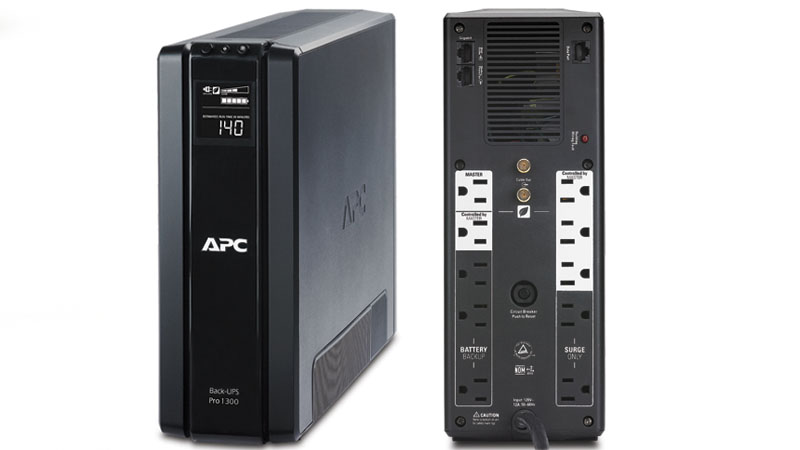
APC UPS XS 1300 Review
Back when I got my old HP Pavilion, I also got an UPS (uninterruptible power supply). So when I got…
Read More »