Internet & Computers
Everything to do with the Internet, computers, software and websites.
-

Facebook Adds Legacy Contact For Virtual Afterlife
What happens to your Facebook account after you die? As mentioned before, Facebook does allow family members to memorialize their…
Read More » -
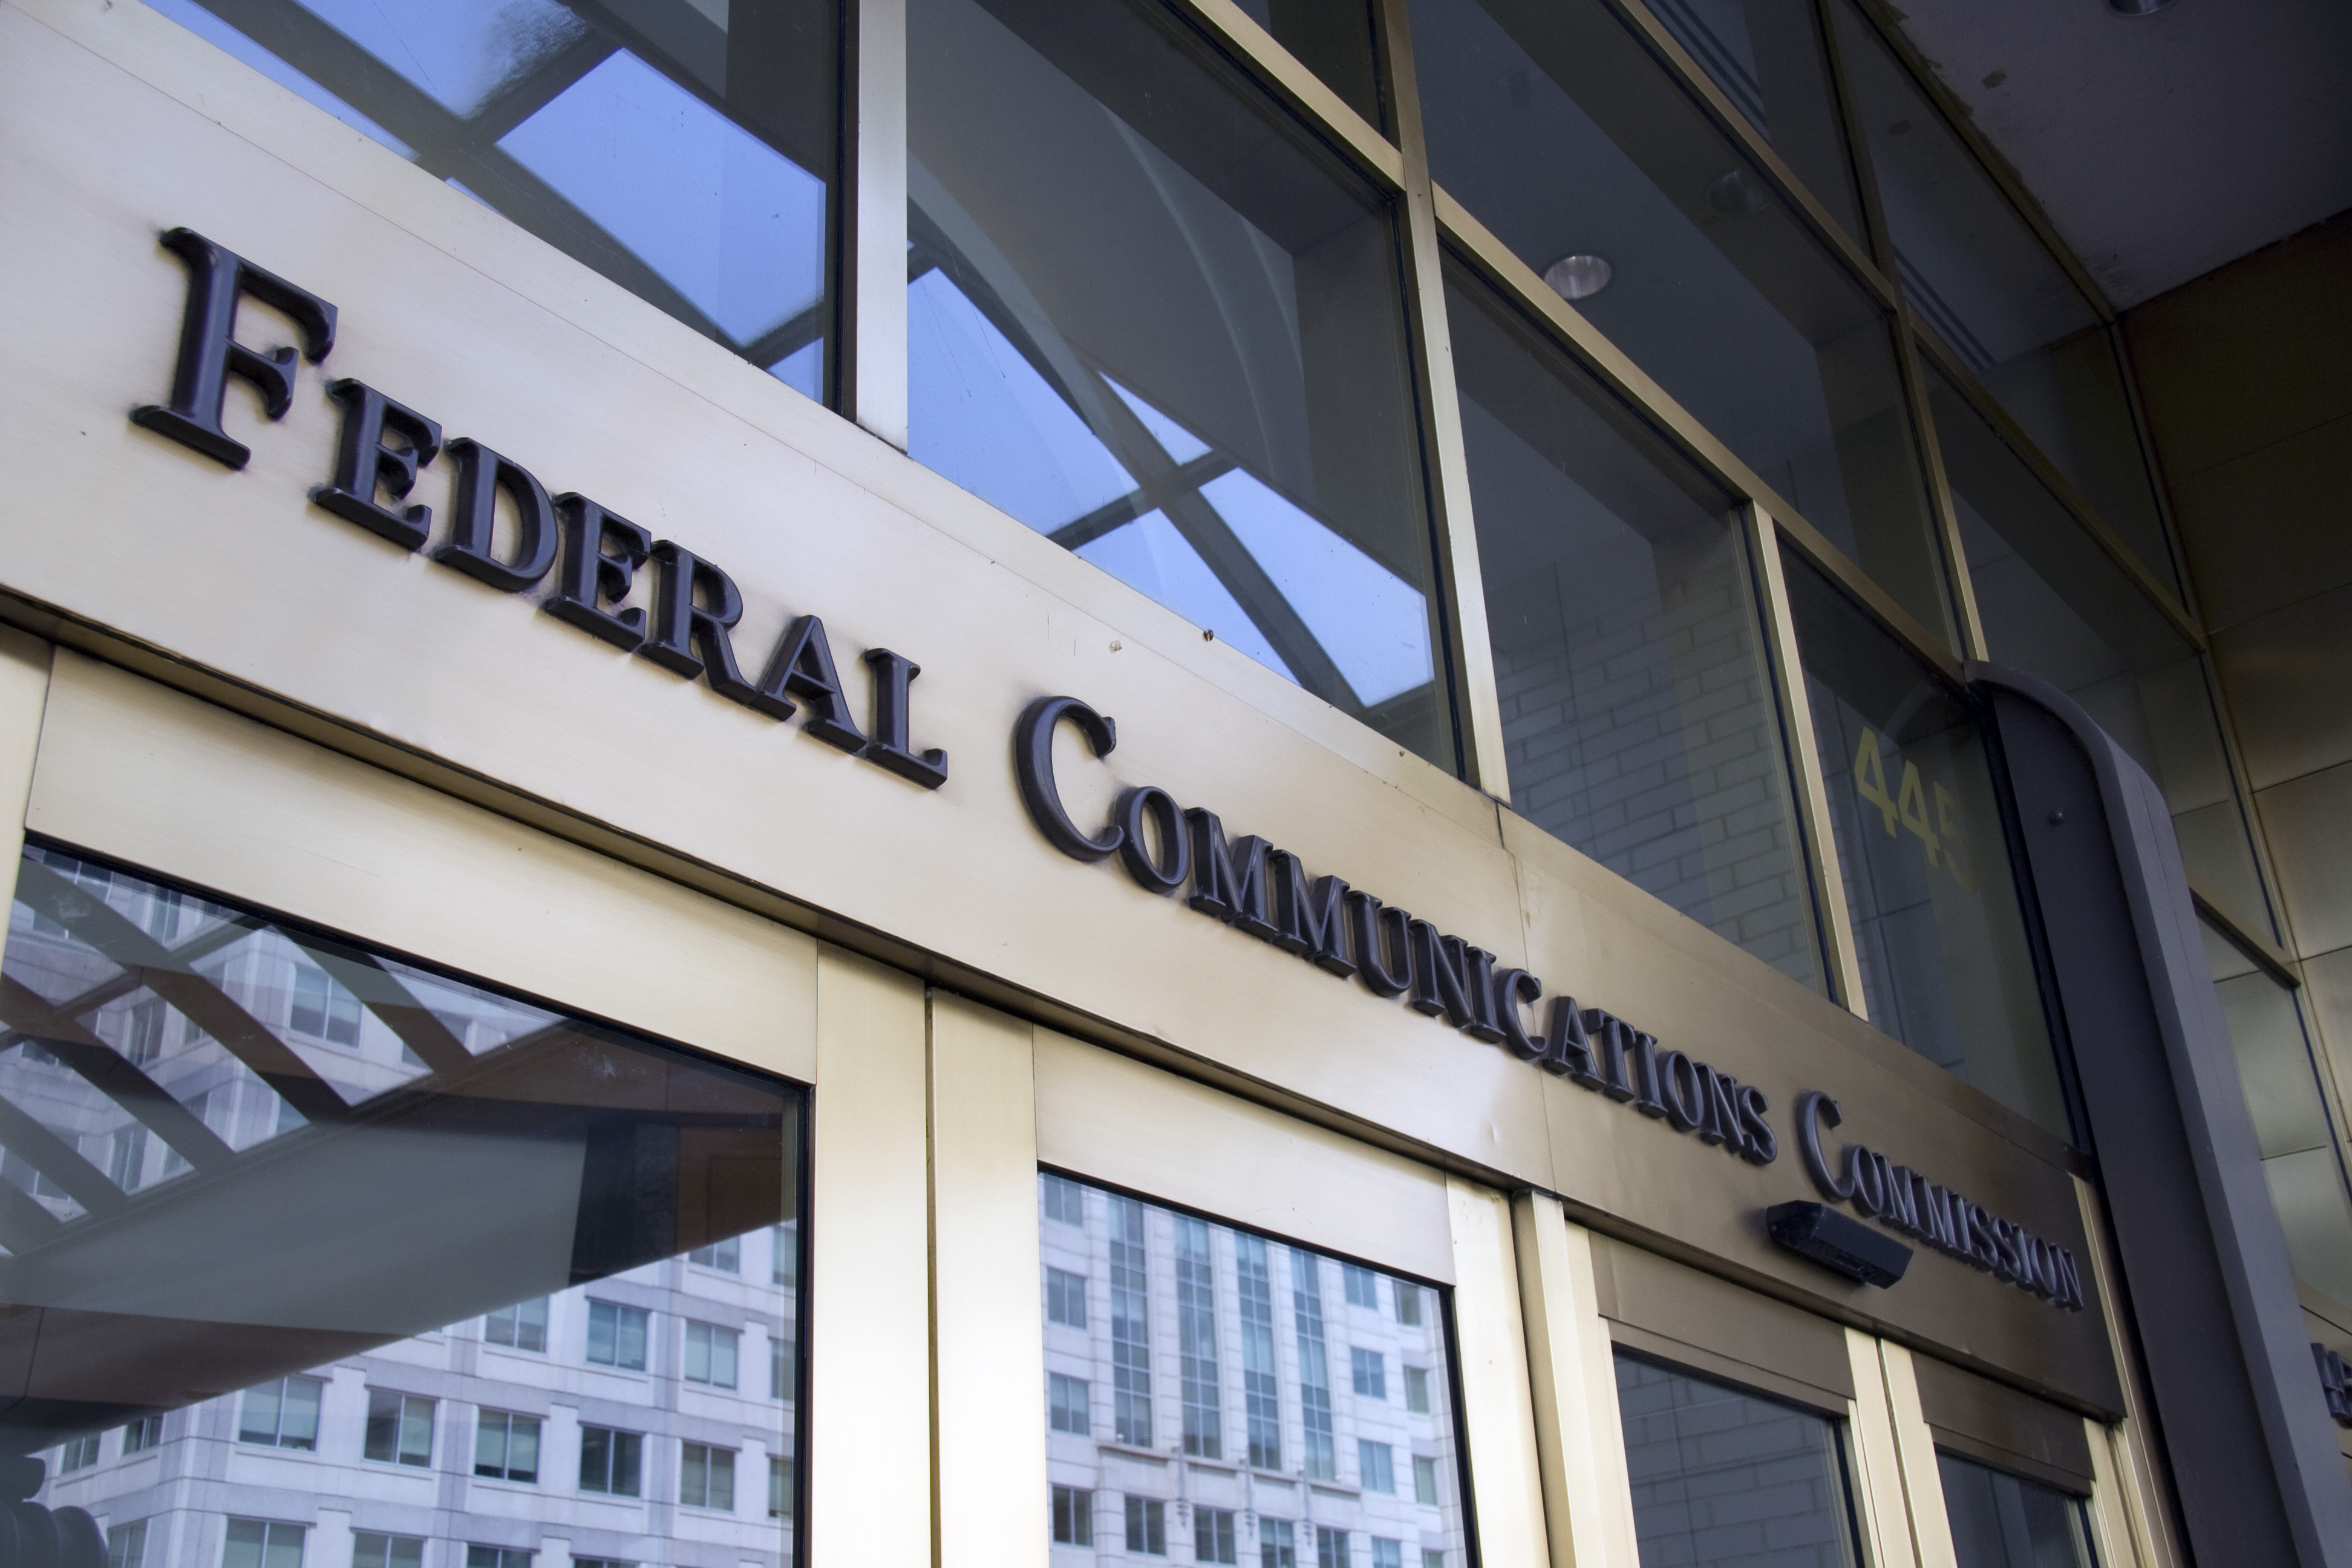
FCC Says Time Warner Cable Is No Longer “Broadband”
The Federal Communications Commision has just changed the legal definition of “Broadband” to require 25 Mbps download and 3 Mbps…
Read More » -

LG 21:9 UltraWide 34UM65 Monitor Review
After buying the HP Envy, I decided that it’s about time that I upgraded my old Samsung monitor as well.…
Read More » -

HP ENVY 700-330qe Desktop Computer Review
It’s hard to believe but my old desktop (HP Pavilion) is now 6 years old, and still running Windows Vista…
Read More » -
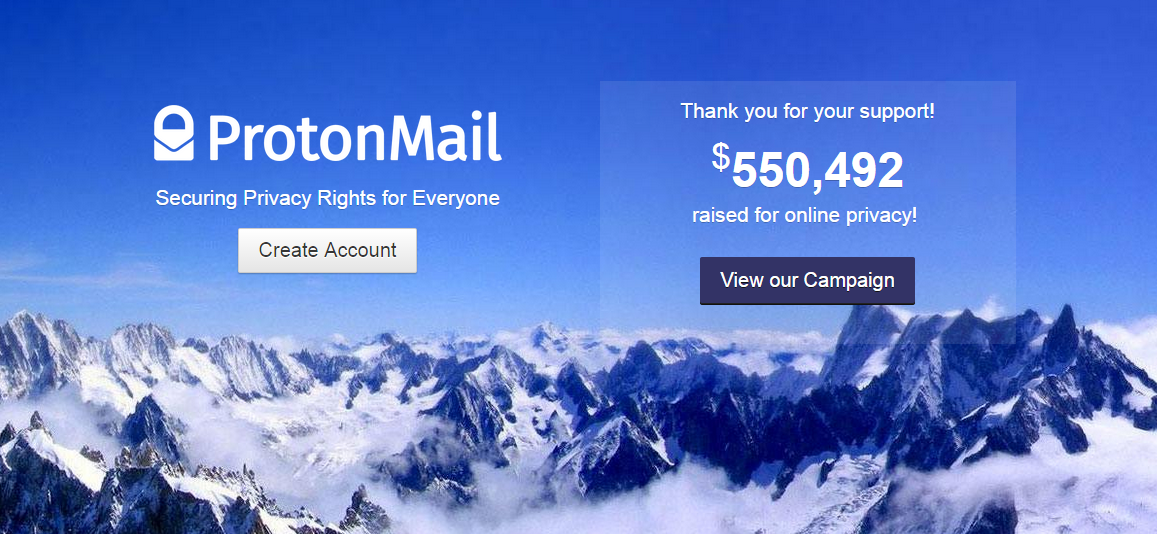
ProtonMail Testing Public Beta
In case you didn’t hear about it, an encrypted free email service called ProtonMail has been in beta for a…
Read More » -
Google Intros Google Wallet Card
Not wanting to have their customers left out at retail stores that do not accept the Google Wallet NFC powered…
Read More » -

How To Speed Up Firefox Browser
Recently, my Firefox browser was acting very sluggish and I was considering uninstalling and re-installing it. However, I found out…
Read More » -

MasterPass Challenges Paypal
Many companies are trying to one-up each other over virtual payment systems, with Paypal, Google Wallet, and everybody else trying…
Read More » -
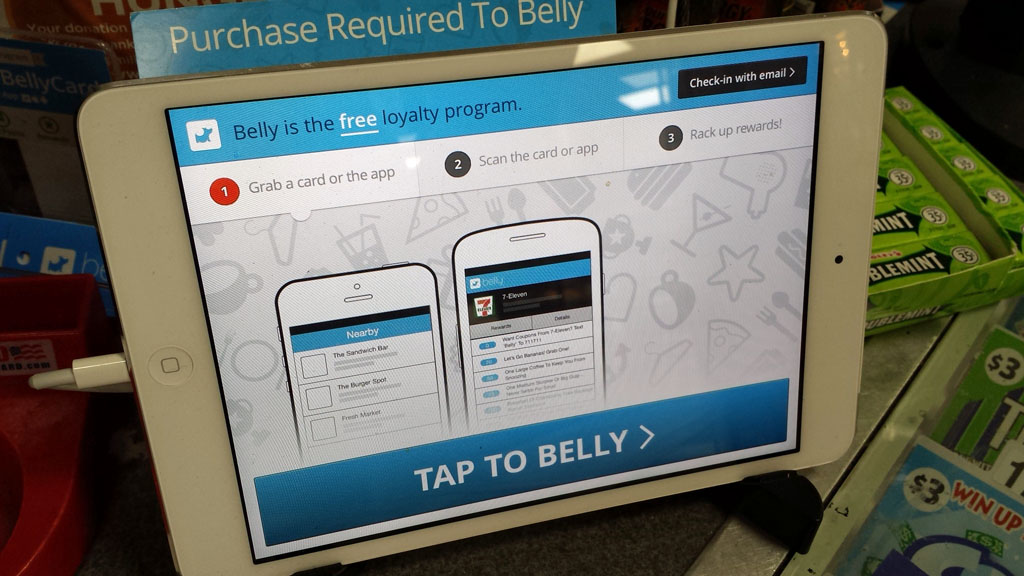
Belly Loyalty Rewards Come to 7-11
Belly is yet another new loyalty rewards program that works on your smartphone via an app on iOS and Android.…
Read More » -
Google Adds 2 Step Verification
Recently, somebody hacked into my friend’s Gmail account and took it over by changing everything. He was not able to…
Read More »