Recent
-
Gambling

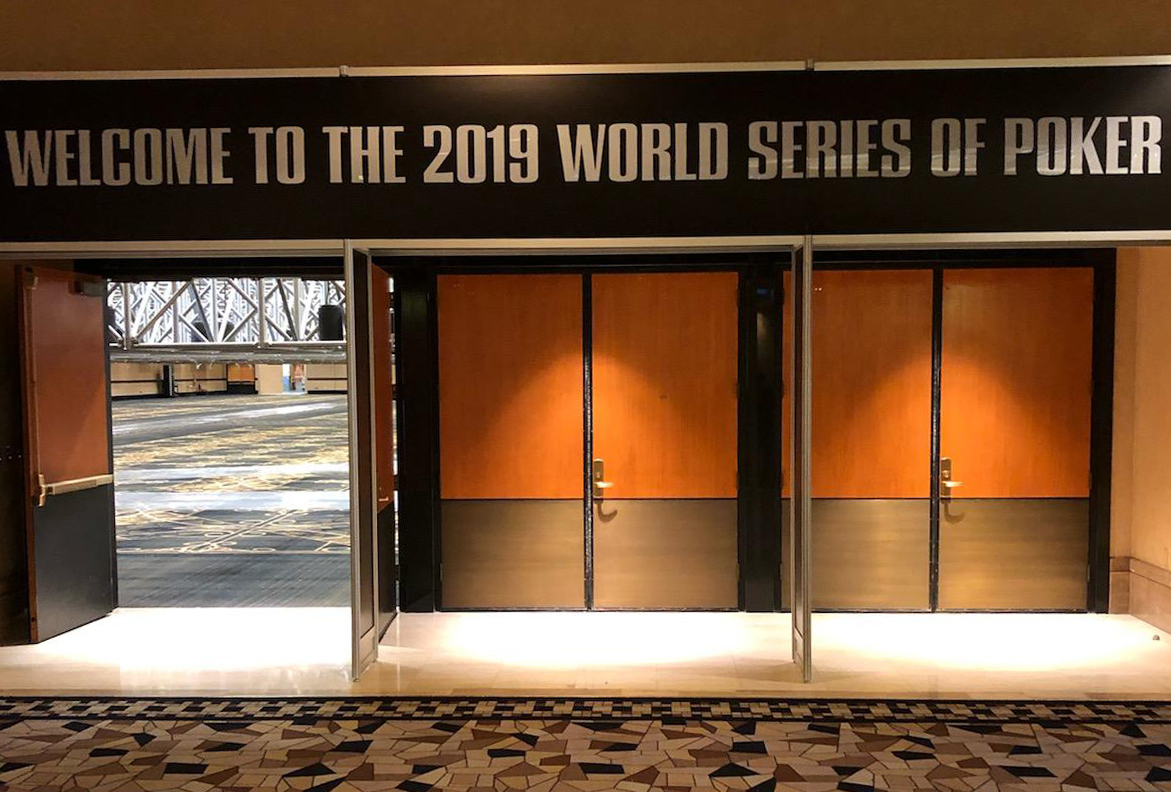
WSOP 2024 Poker Interuptus
The reason it took so long for me to post my yearly WSOP post for 2024 is because basically it…
Read More » -
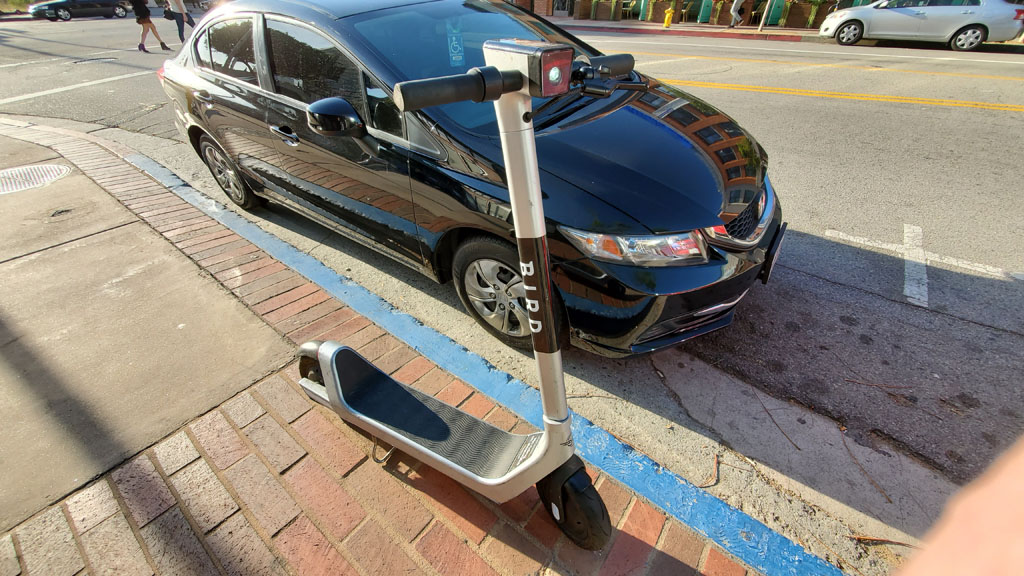
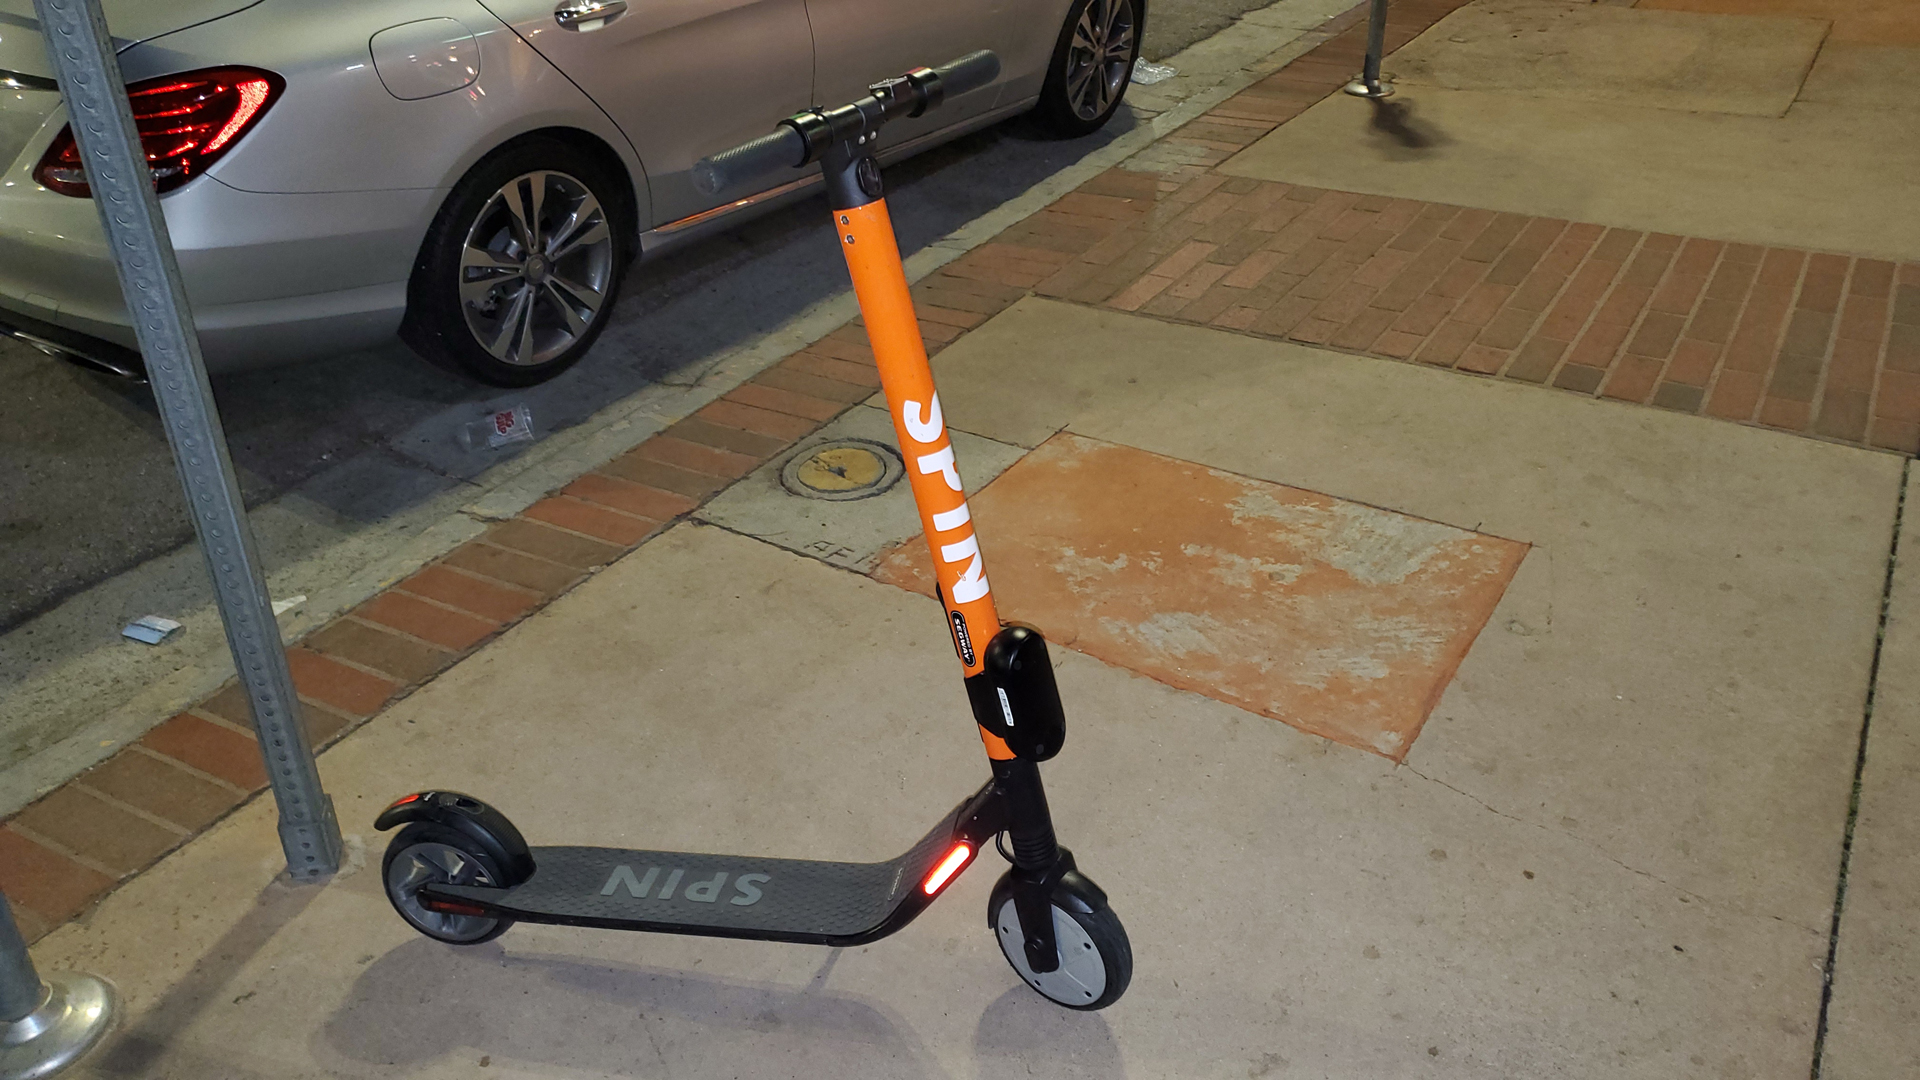
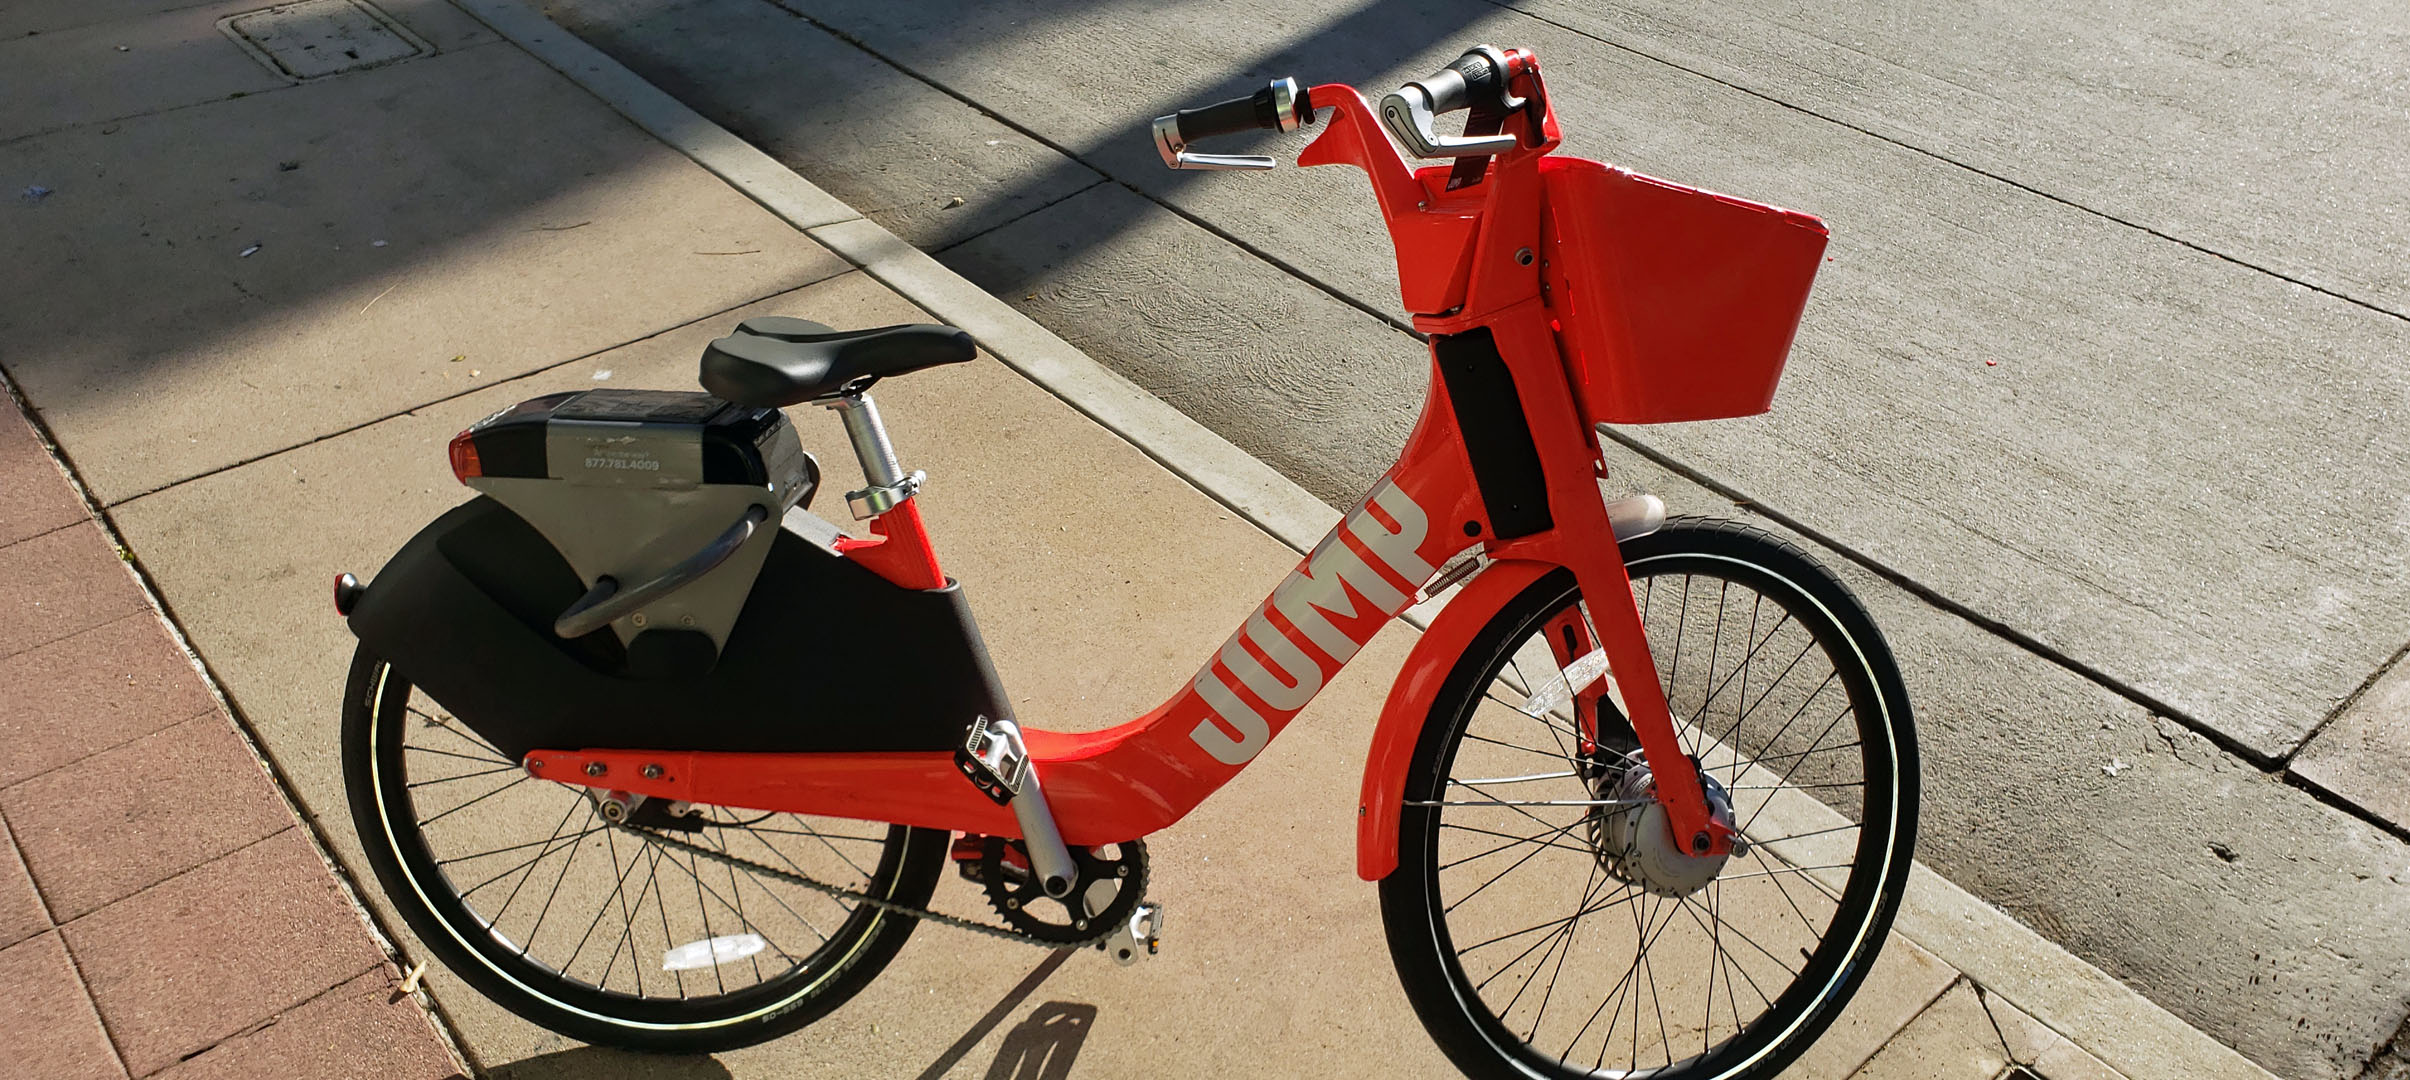
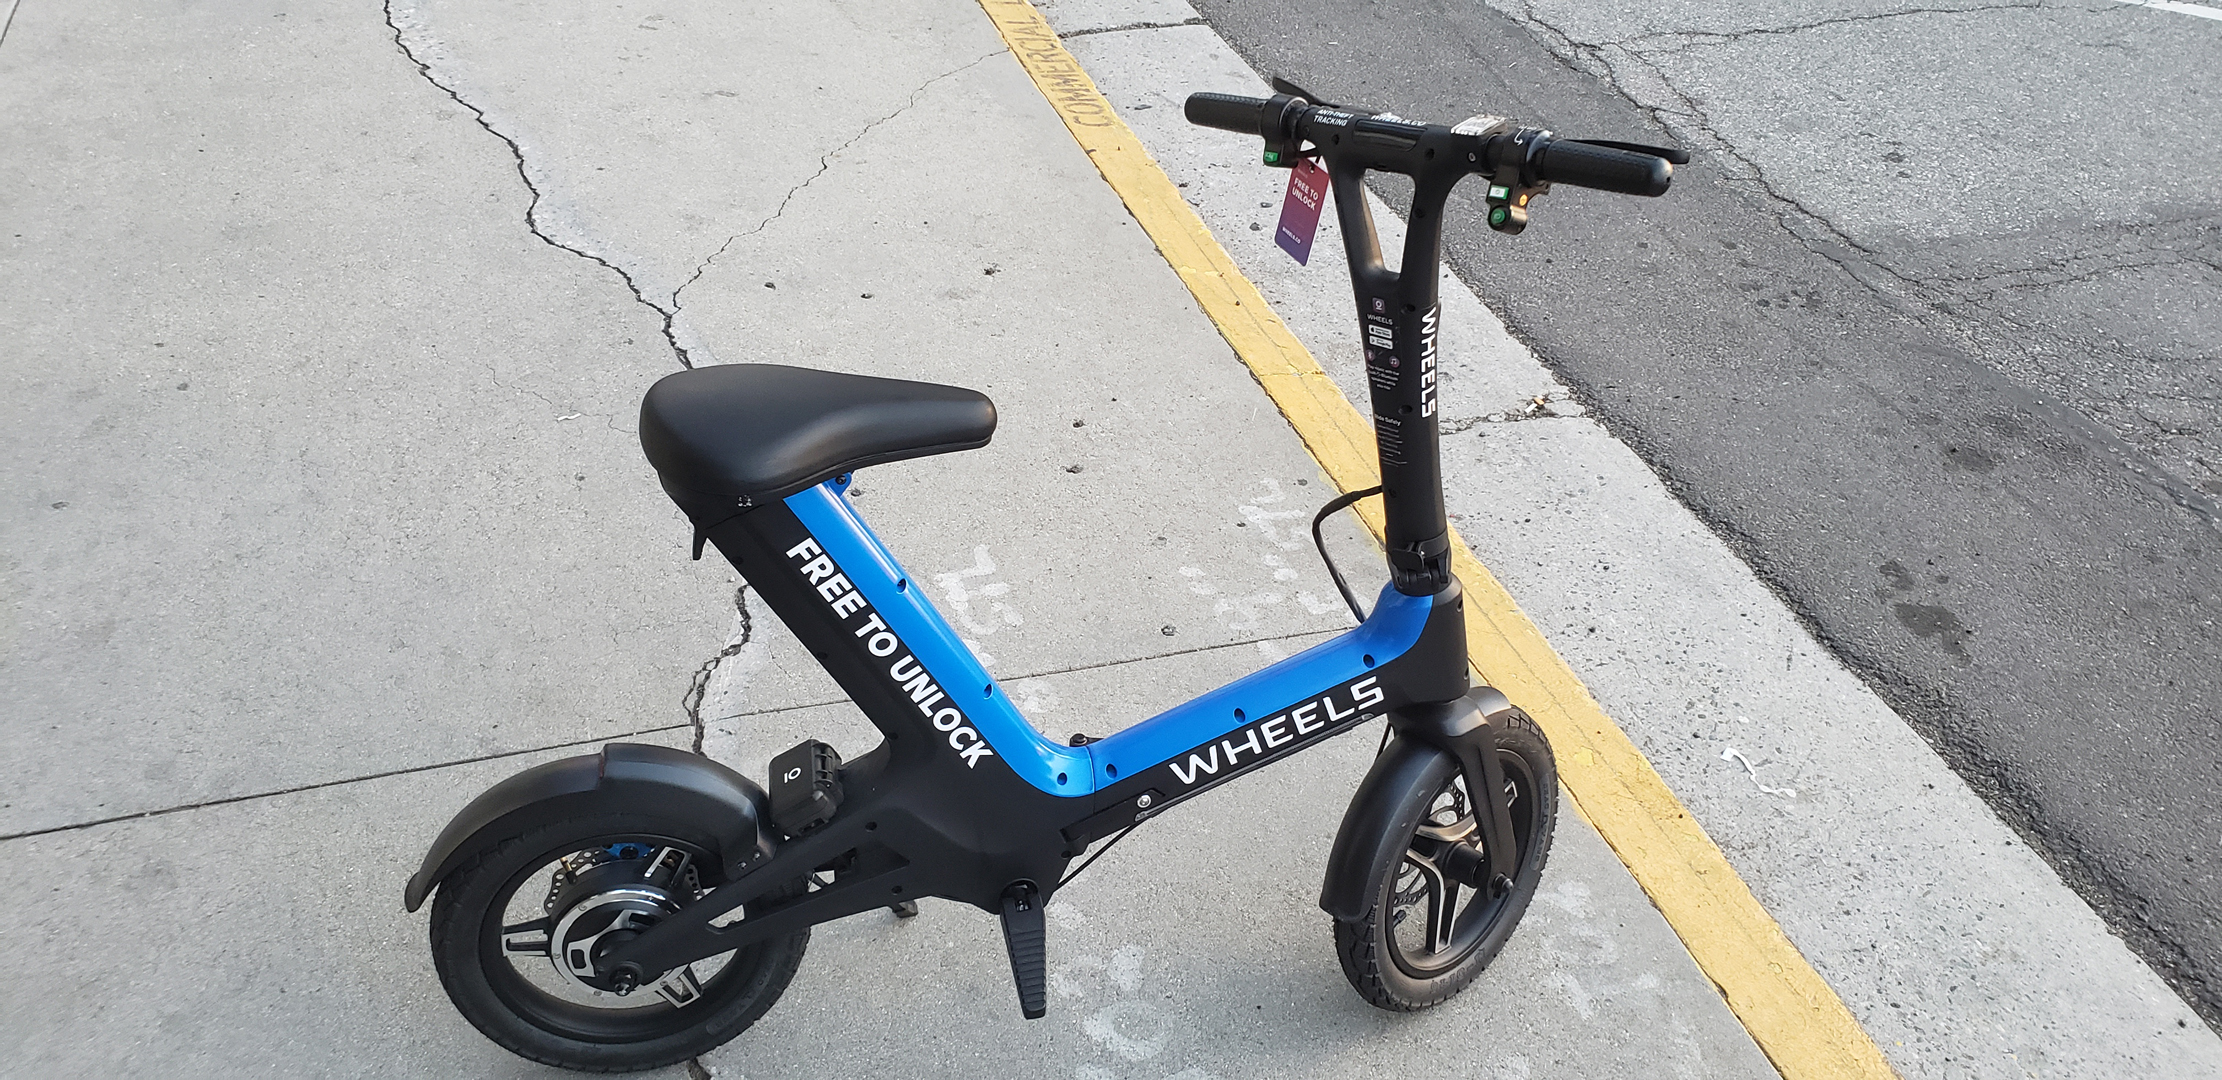
Rides

Waymo Goes Live in LA
After a beta period of free rides for testers, Waymo now allows all users to get on their waiting list…
Read More » -
Coding

How To Fix Curl For EasyPHP on Windows 10
If you have ever seen this error after turning on Curl for PHP, I have the solution for you. If…
Read More » -
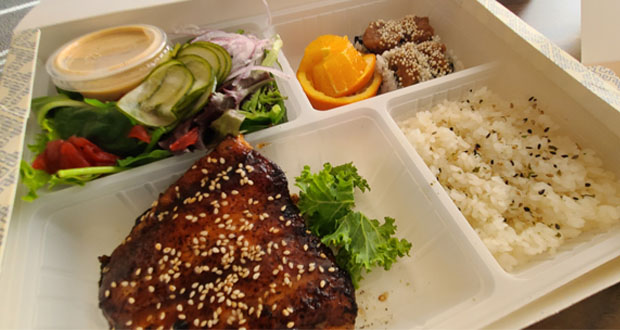
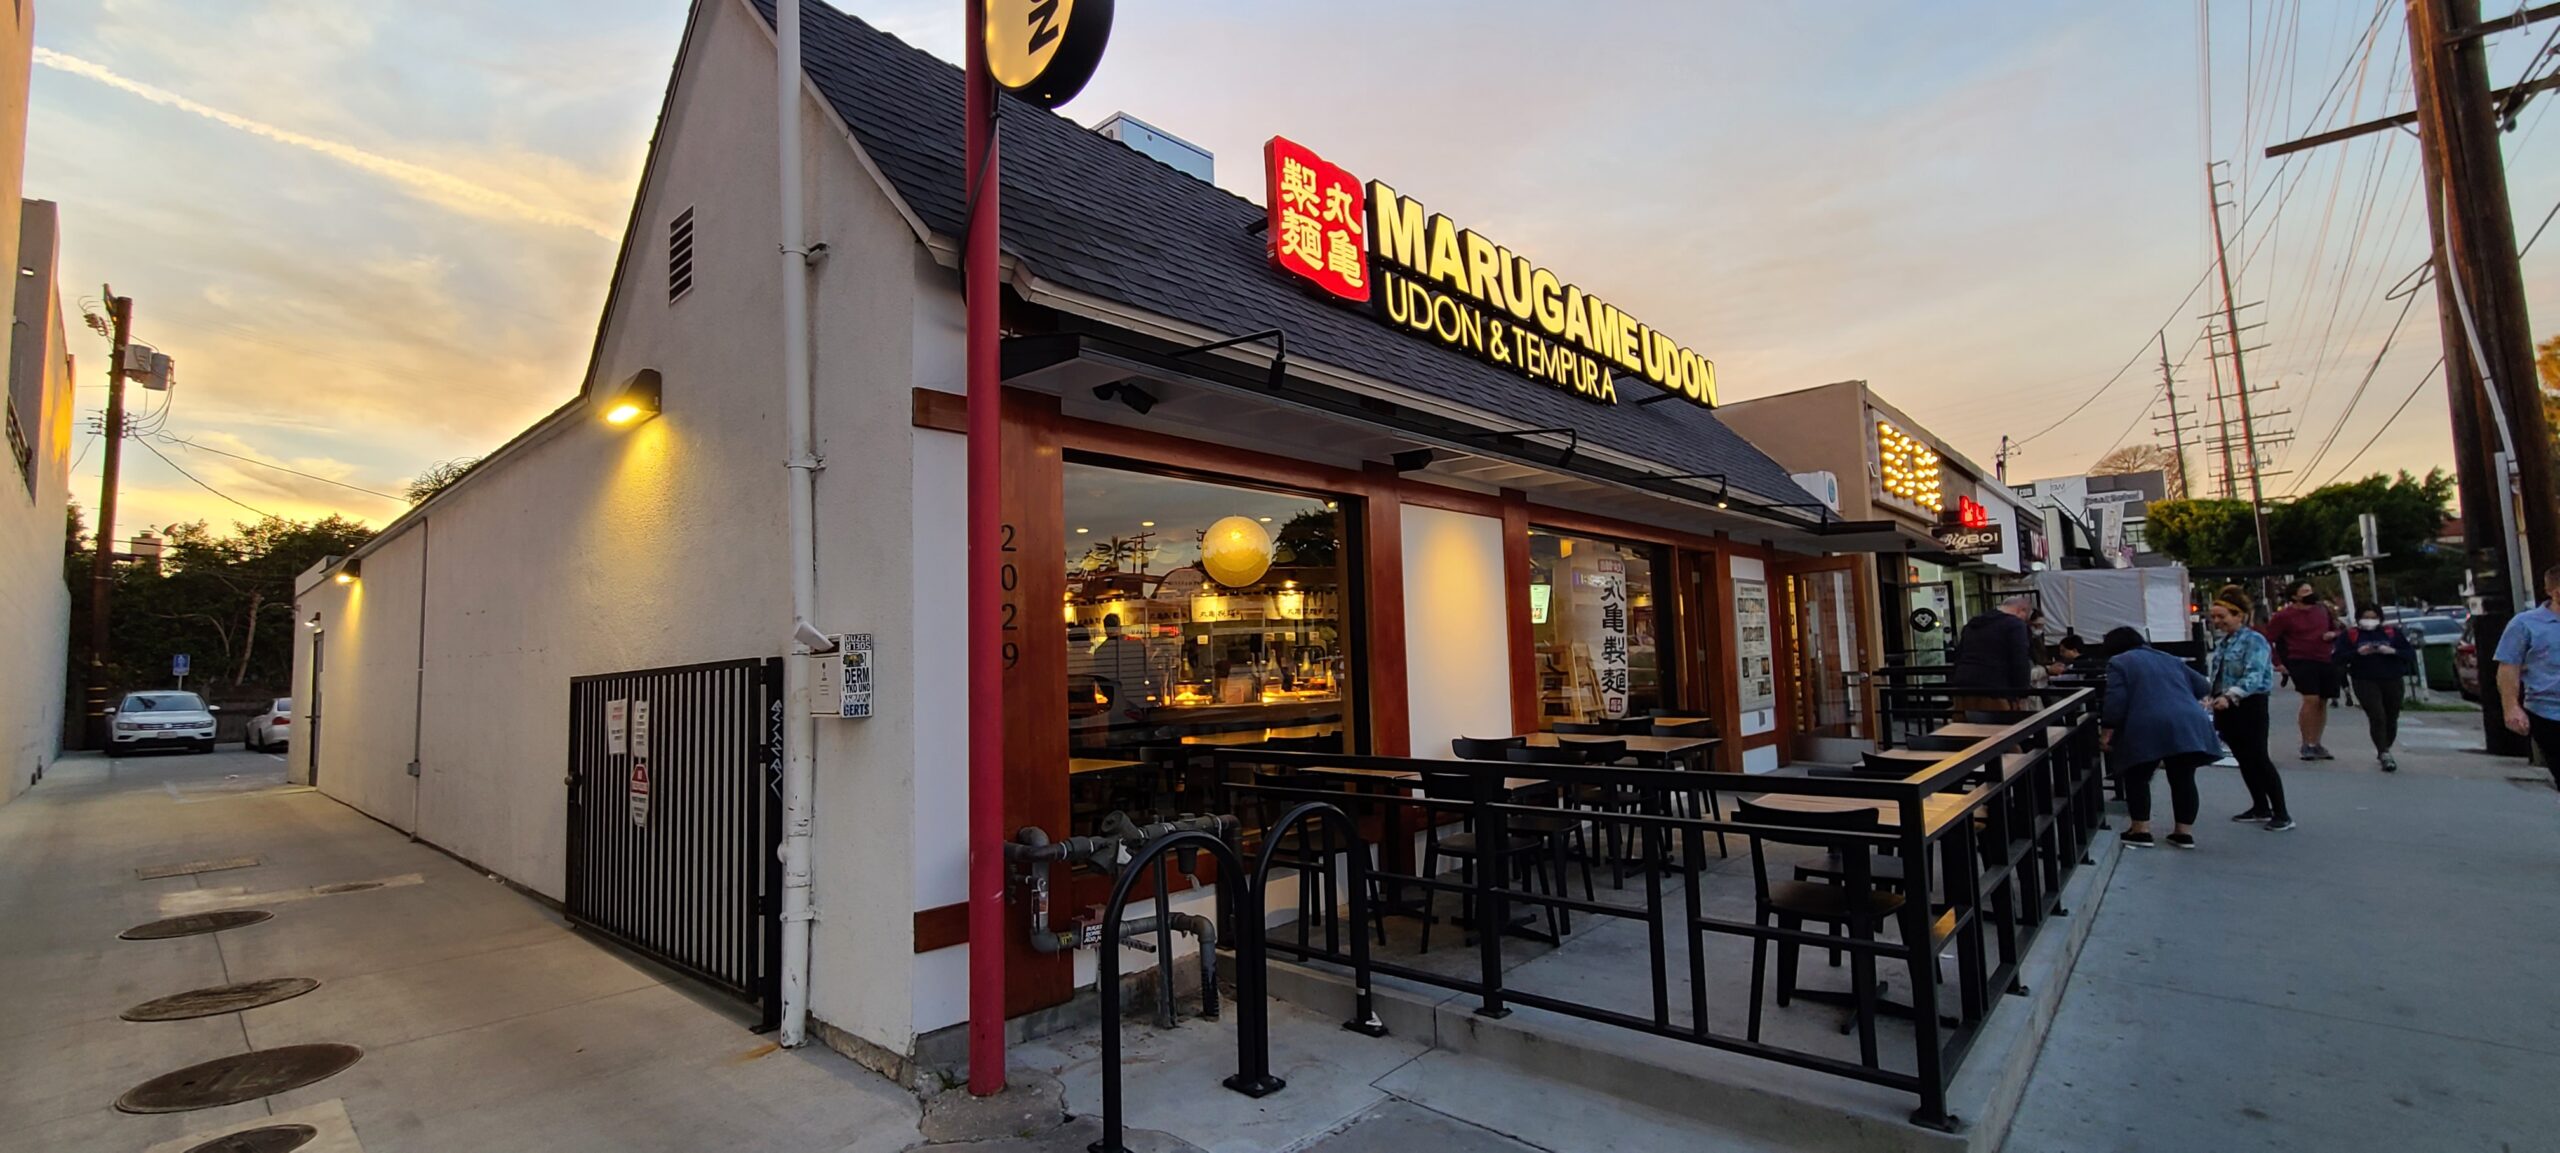
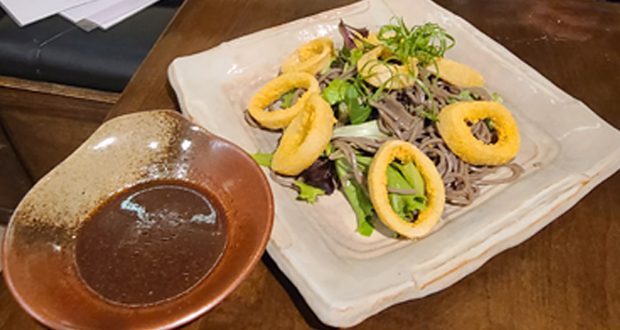
Eating & Drinking
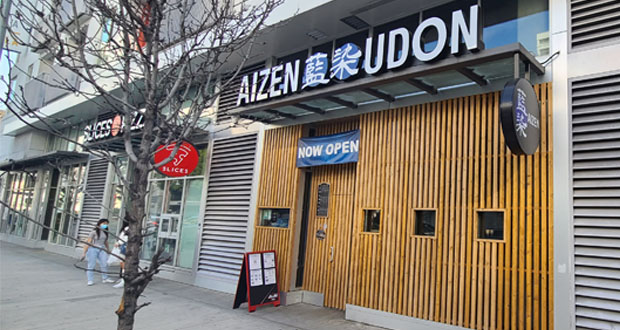
Aizen Udon Quick Review
If my memory serves me correctly, I think this restaurant opened right before the pandemic or right as the pandemic…
Read More »