Internet & Computers
Everything to do with the Internet, computers, software and websites.
-

ChatGPT Wrote Me A Children’s Story
Me: write a children’s story about a bat that is bullied out of his family but finds a new family…
Read More » -

Create Art With Midjourney AI – Step by Step
Midjourney is yet another AI that arguably creates art simply by typing in what you want. AI has come a…
Read More » -
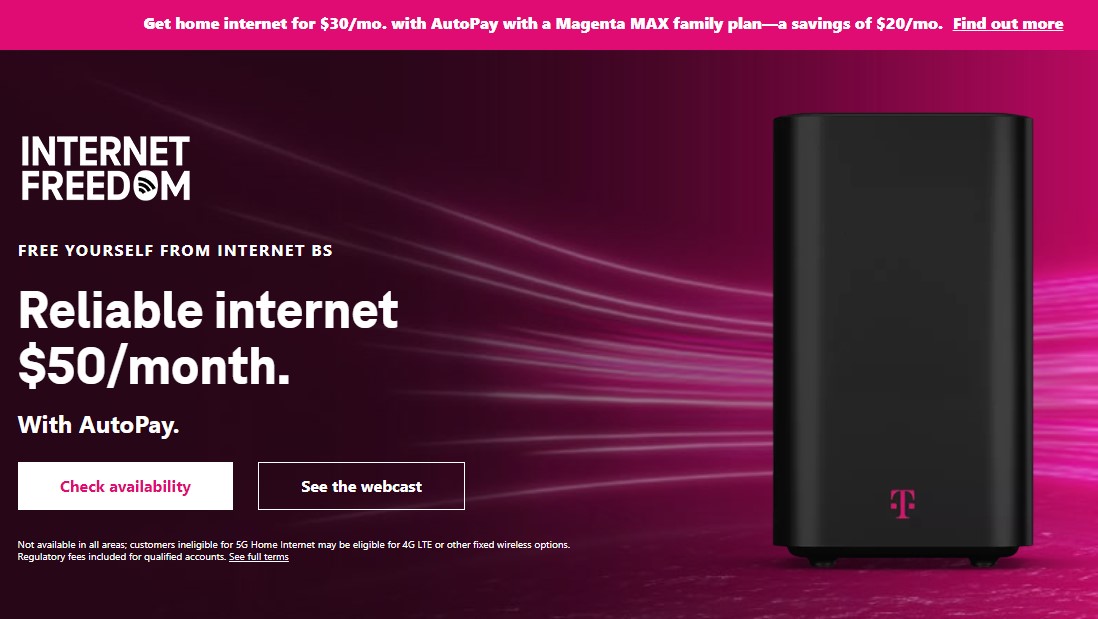
T-Mobile 5G Home Internet Review
30 years. That’s how long I’ve been stuck with Spectrum broadband internet service. After trying AT&T DSL, and waiting for…
Read More » -

How To Clone To A Larger Drive On Windows 10
After 7 years, my hard drive on my HP Envy finally started to run out of space. This is mainly…
Read More » -
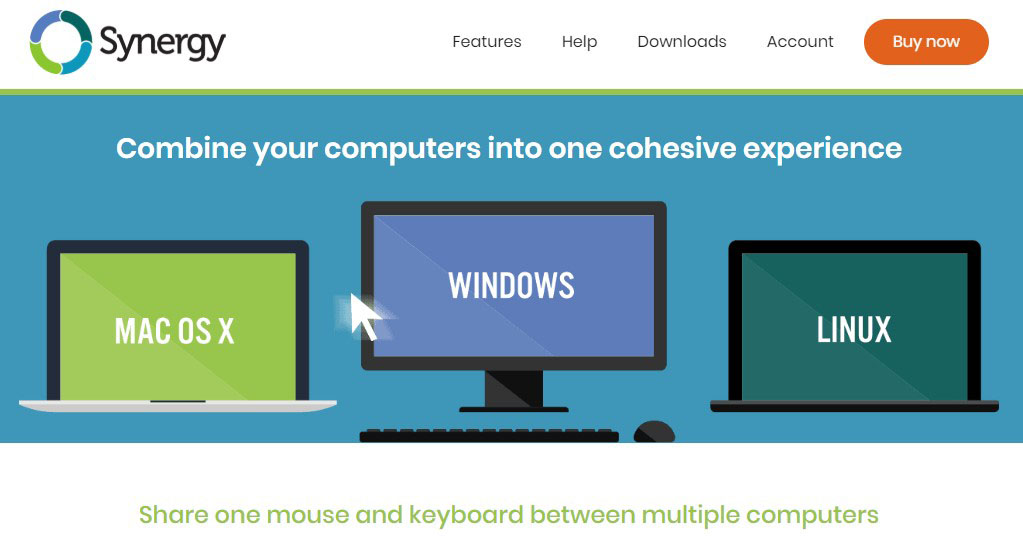
Share One Mouse & Keyboard With Synergy
Do you use multiple desktops and laptops simultaneously? I used to use Stardock many years ago, but it stopped working…
Read More » -
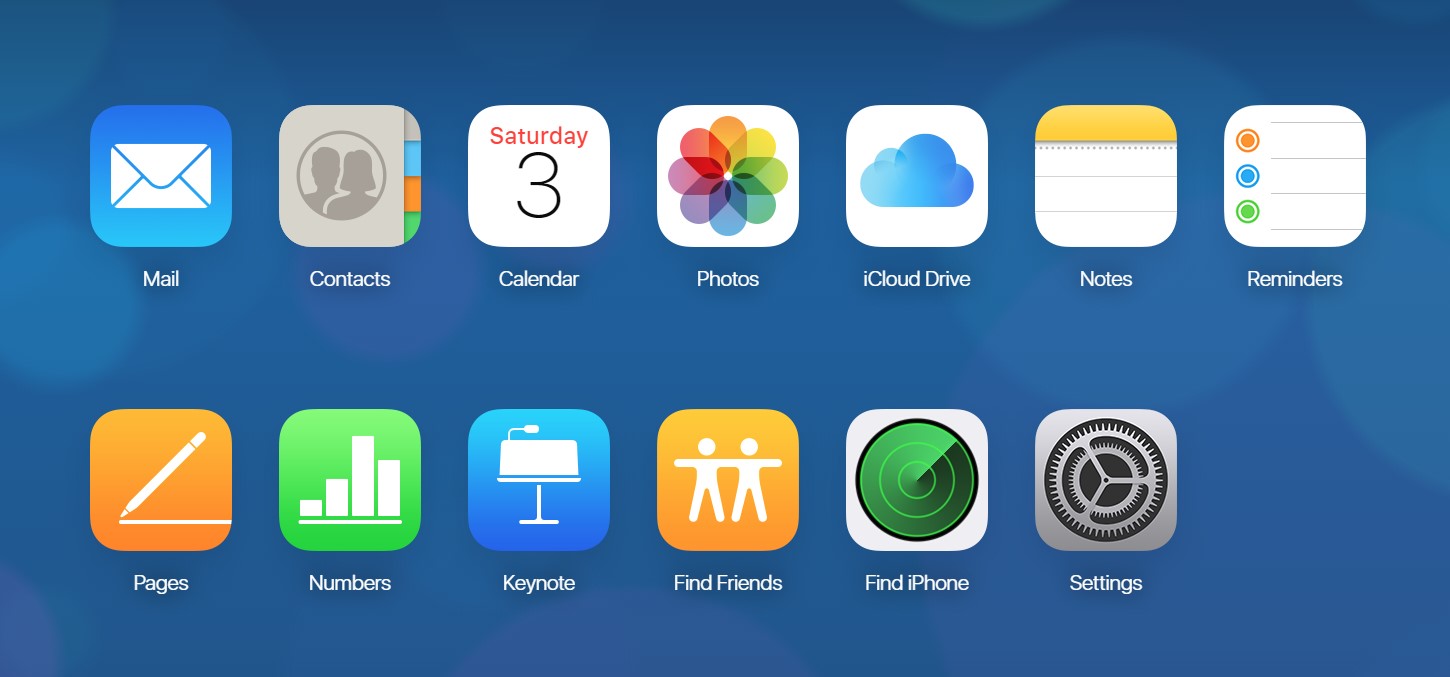
How To Read iCloud Email on Windows 10
If you’re like me, you use Windows 10 on your desktop and laptop, and your phone is an Android Samsung.…
Read More » -
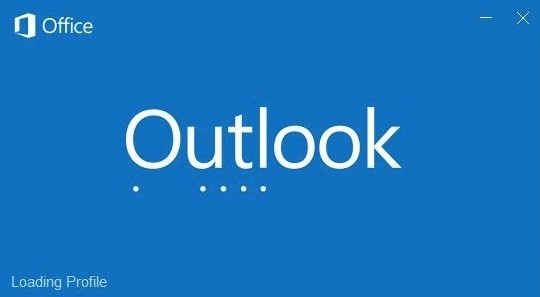
How To Fix Outlook Loading Profile Hanging
When I tried to install the iCloud app for Windows 10, it caused my Outlook to hang when loading the…
Read More » -
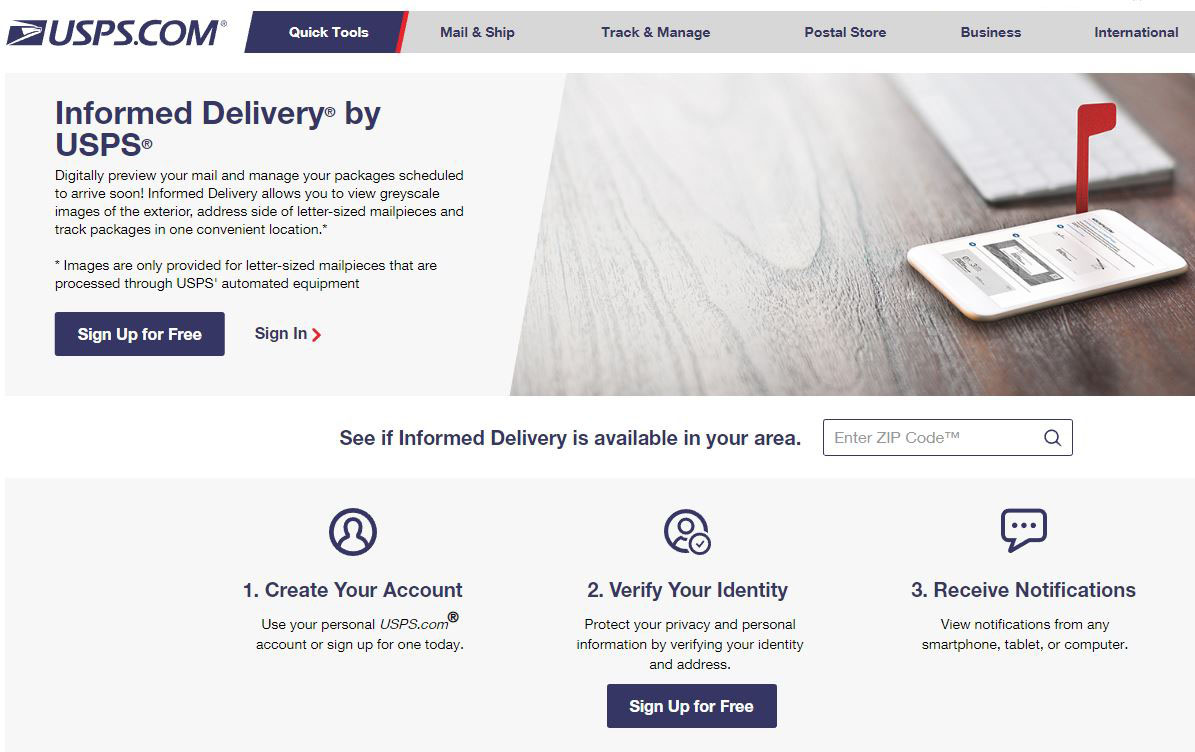
Know What Mail Is Coming Soon Via USPS Informed Delivery Service
Most people know that you can track your packages on the USPS website. But did you know that you can…
Read More » -

Godaddy Disappoints With Questionable Service
Let me start by saying that I’ve had multiple accounts with Godaddy for over a decade and have been happy…
Read More » -

How To Add Symantec VIP Access to Your Paypal Account
First, I need to explain a few things. If you want to use two-factor authentication to login to your Paypal…
Read More »