Wordpress
Wordpress tips & tricks, as well as programming code.
-
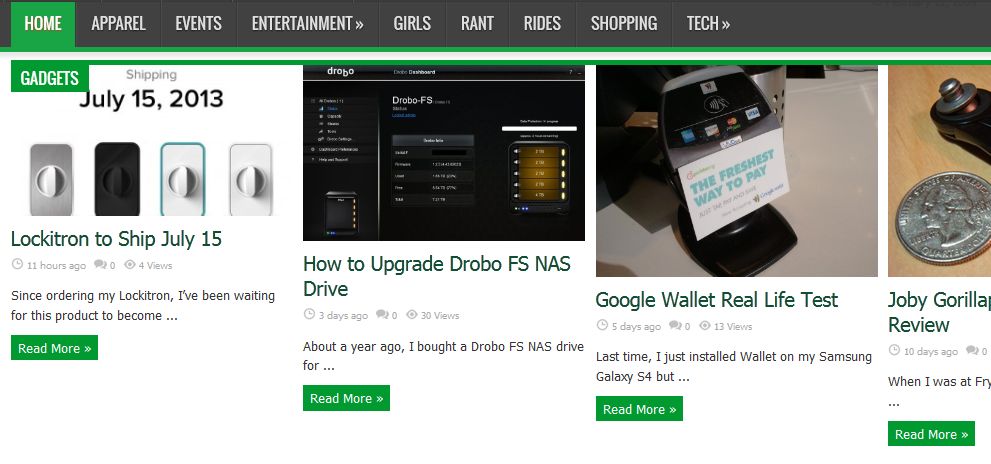
New Look & Feel For Cochinoman
When I started this blog in 2006, I thought it looked pretty cool. Fast forward 7 years later and now…
Read More » -
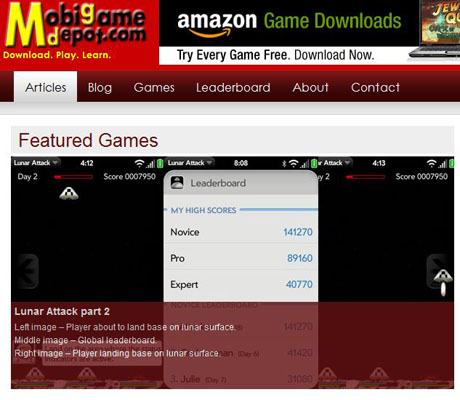
Mobigamedepot.com Opens
Regular readers of this blog may have noticed a reduction of posts here. The reason for this has been that…
Read More » -

Splashscreen Wordpress Plugin Version 0.30
Since the last release of my Wordpress plugin Splashscreen version 0.20, there’s been many requests for new features. You may…
Read More » -
Splashscreen Wordpress plugin version 0.20
Cochinoman released the first version (0.01) for a splash screen for Wordpress back in February. Since then, I have gotten…
Read More » -
Wordpress Plugin for Splash Screen
If you have an adult website, which could include a website about condoms, or drinking alcohol, or “mature” rated video…
Read More » -
Google Chrome Great for Web Designers
Why do we need yet another browser? That’s what I was thinking when I heard that google was coming out…
Read More » -

Wordress 2.6 Adds Cool Image Captions
The new version of Wordpress is now out as of today with a bunch of new features and bug fixes.…
Read More » -
Wordpress 2.5 not IE friendly
The non-beta version of Wordpress 2.5 came out at the end of March but I held off upgrading because I…
Read More » -
How to Add New Emoticons to WordPress 2.2
I wanted to add my own emoticons to this blog so I did some digging. After reading the WordPress online…
Read More » -
WordPress: It’s What You’re Using
The PHP program that’s running on this website is called WordPress, and so far, it’s worked very nicely. Just being…
Read More »