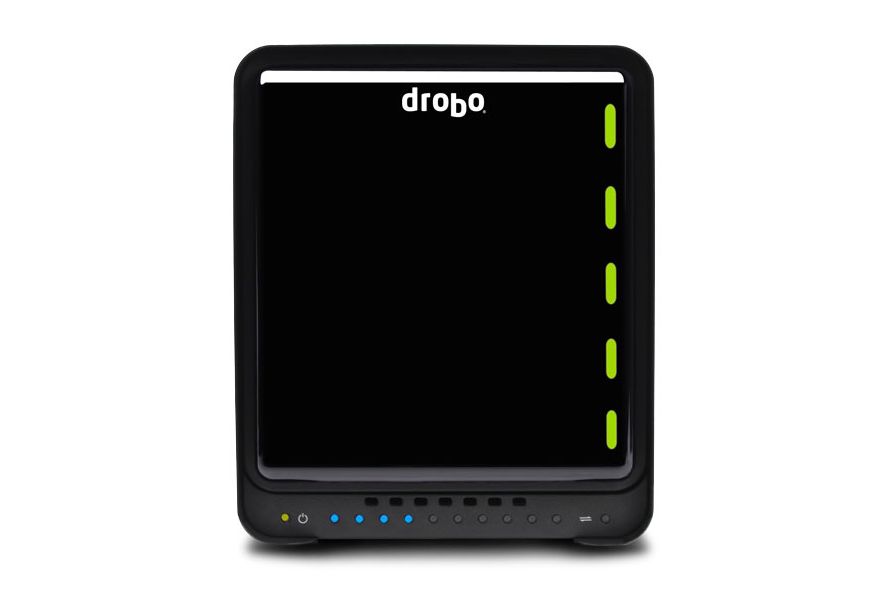
Since 2007, I’ve been using the Buffalo NAS RAID but it finally broke down on me again, but this time for good. Frankly, I was more than ready to upgrade because I was starting to run out of space on it. For a couple of years, I’ve been eyeing the Drobo FS, shown below. So when my Buffalo died, I rushed out to by local Fry’s to get the Drobo.
Before getting to the juicy stuff, let me explain why I selected the Drobo instead of another NAS (Network Attached Storage) RAID. One of the biggest problems with traditional RAID is that you cannot mix and match different sized drives. So when I wanted to upgrade my Buffalo, I would have had to replace all the drives simultaneously. Drobo has a new system called BeyondRAID which allows the user to mix and match different sized drives, as well as add or replace drives on the fly without having to re-format all the drives like in traditional RAIDs. These features alone makes this RAID the best on the market, in my opinion.
The MSRP for the Drobo FS is $699 but Fry’s had it for $499. Luckily for me, they also happened to have a sale on Seagate 2TB drives for $149. These drives are fast and very quiet. The only problem was that it was limited to one per customer.
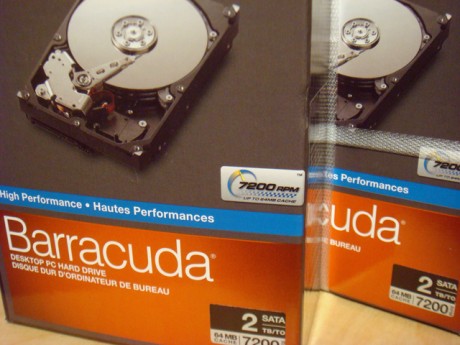
This is where I used my real world hacking talents to find a guy that let me buy 2 at a time. So I bought 2, then put them in my car, then came back and got 2 more from the same guy. That’s 8TB for $600. Nice.
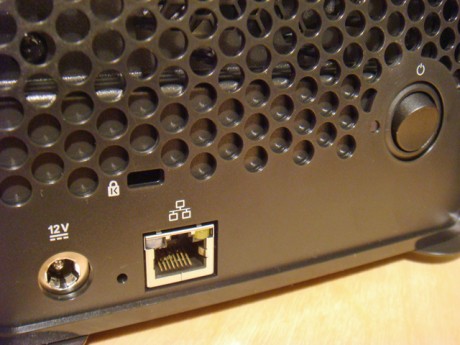
It doesn’t hurt that the Drobo also looks cool compared to my old Buffalo, which looked like it was from the 80’s. As you can see in the back of the Drobo, it has the power switch (which is a toggle), the Ethernet port and even a slot for a laptop locking cable.
Setup was as ridiculously easy. Install the Drobo Dashboard software (more on that later), insert the drives into the front of the unit, then plug in the unit and toggle the power switch to turn it on. The Drobo accepts any 3.5″ SATA drive, even mix and match different sizes, and manufacturers. The drives slips into the slots bareback and without any screws.
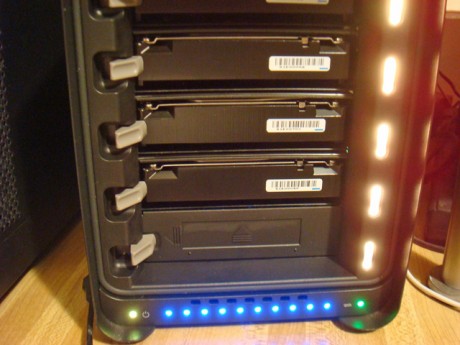
The LED lights start to flash and after a little while, it’s ready for use. The big lights next to the drive give the current status of each drive. The green (or red if there’s a problem) LED on the left bottom is the status of the entire Drobo unit. The green LED on the right bottom is the network access indicator, and the blue lights at the bottom show how full the drives are. It’s a nice touch that you can see how much space you have without having to use your computer.
One thing that was a little strange is the front panel comes off completely and sticks back on with magnets. The first time I took it off, I thought I broke the door. It’s also a little hard to remove since the magnets are pretty strong.
The Drobo Dashboard software that comes with the unit allows you to setup and change the settings of the Drobo, as well as look at the current status. You can also have it email you when something goes wrong.
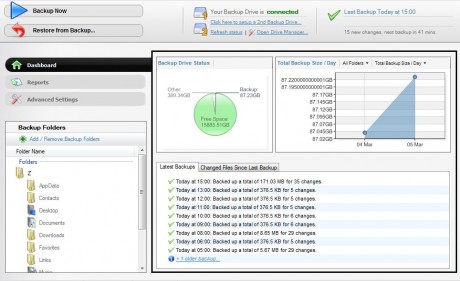
Drobo also includes a backup utility called Drobo PC Backup that will automatically backup your files to the Drobo in the background. It has the usual features to select the folders for backup and restoring from your backup. It also allows for a second backup drive to be setup so that you can backup your data on multiple drives. You can only install this software on 3 computers for free so if you have more, you may have to buy a license.
There were a couple of minor annoyances that I’ll mention. When you use the Windows file system to see the size of the Drobo FS drive, you will get some large size that doesn’t correlate to anything. In the list below, you can see that the total size shown for the drive is 16TB. I have 4 x 2TB drives + a 250GB = 8.25TB, and certainly not 16TB.

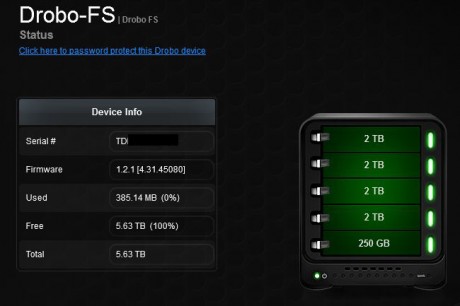
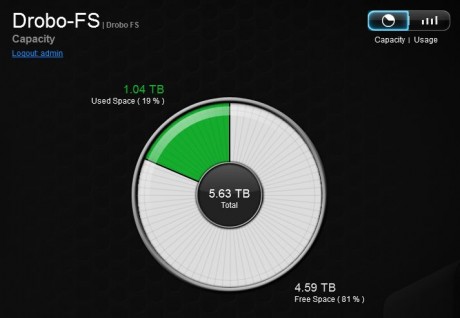
To see the actual size of the drive, you have to go into the Drobo Dashboard as shown below. As you can see, out of the 8.25TB, only 5.63TB is actually available for my data, with 1.04TB being used currently. It’s not a big deal since the blue LED lights on the unit tells you how full the drive is at all times, but it’s a little annoying.
The other problem is once in a while, the drive will disconnect from the network and will have to be re-booted. I had this same problem with my Buffalo NAS drive so this might be a problem with Windows, or even my router.
Drobo’s website also has some apps you can load onto your Drobo unit. Since the Drobo is a Linux-based box, you can run Linus programs on it to make it a local home server or media server. However, Drobo does not support these 3rd party applications so unless you know what you are doing, it’s better to let the professionals play with these toys.
So far, everything has worked as advertised and I’m very happy with my purchase. I’ve backed up my desktop and 2 laptops, and copied a bunch of files onto the NAS without any problems. To test it further, I added a small 250GB drive into the 5th and last slot to see how easily I can add drives. Just plug in the drive and the Drobo takes care of the rest. It can’t be any easier. I love it.
Drobo’s BeyondRAID technology is clearly the way of the future. I’m completely sold on it. If you’re looking for a NAS RAID, the only decision is what model Drobo to choose. It’s a no-brainer.
 Cochinoman tech, sushi, poker




That is a great review. I've been eyeing a Drobo for years. But dang… $1100 for a backup is still pretty pricy. I may have to take the plunge… I really want to consolidate all the drives I have.
Yes, it is pricy and not for people on a super tight budget. But if you're going to use this for work, I think you can justify it (and write it off).
What I really love about it is that you can keep switching drives to bigger ones, even one at a time, whenever you need more space. Other RAIDs do not allow this type of configuration. And because it's also a NAS, you can connect to it from all your computers and laptops (Macs and Windows).