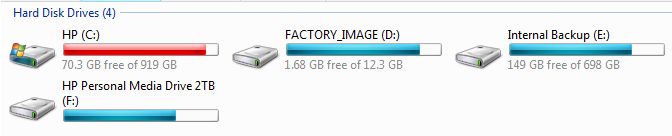
It’s been over 4 years since I bought my HP Pavilion and after recently backing up my old Epic 4G, and other stuff, I started to run out of disk space. As you can see, Windows shows a red bar when I look at the drives.
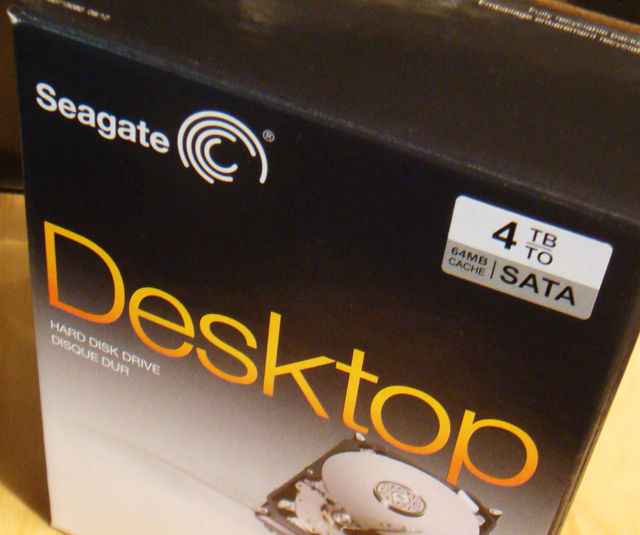
After looking around online, I decided to go to Fry’s to get the Seagate 4TB 3.5″ SATA HDD for $199.99. Actually, I ended up getting 2 of these and a bunch of other stuff while there. The longer you stay at Fry’s, the more money you spend. More on the other stuff I bought there in another post.
But I digress.
Now according to what I read before buying the drives, Windows does support drives above 2TB using some drivers and tricks. However, after bringing the drives home, I discovered that if you have an old PC from before 2011, your BIOS does not support hard drives over 2TB using one partition. This Seagate article explains everything clearly. Basically, if you have a PC from before 2011, your drive will have 2 partitions.
At first, I thought I would have to buy or download something to clone my drive, but Seagate includes their DiscWizard on their “Disc Utility – Internal Hard Drive Upgrade Kit” CD for free. By the way, use the CD because the version on their website is actually older than the version on the CD as of this writing.
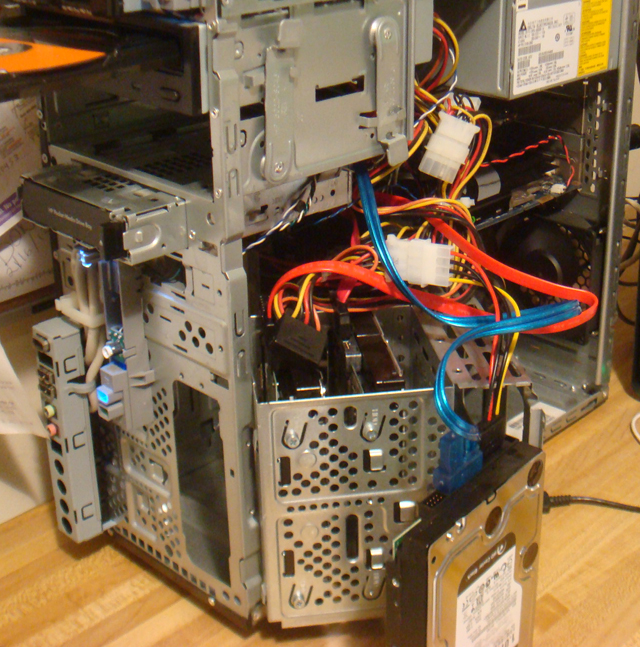
As you can see below, because I already had a second drive using the slot, I had to put one of the 3 drives outside the computer while I was cloning the boot drive to the new 4TB drive.
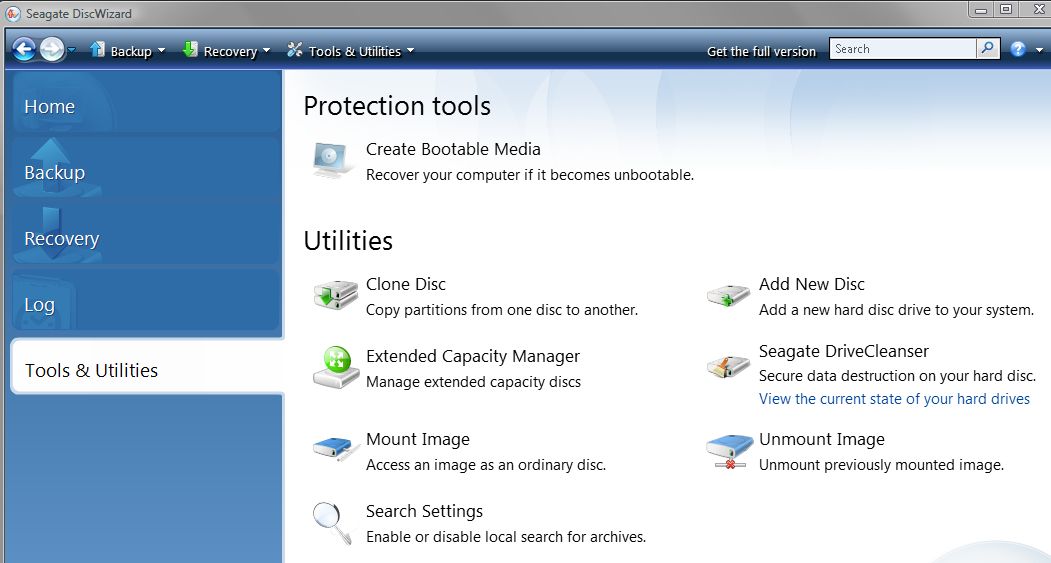
Install the DiscWizard from the CD and launch it. Go to the “Tools & Utilities” section and click on “Clone Disc.”
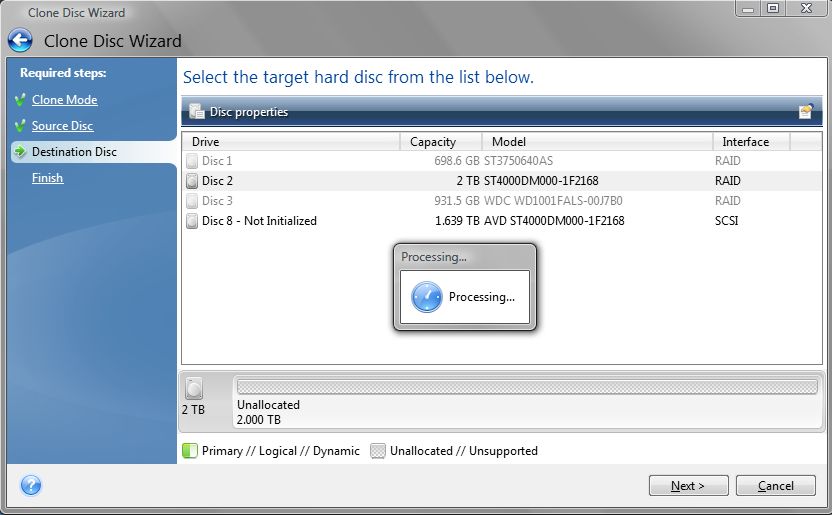
Make sure for the clone mode, “Automatic” mode is selected and click “Next.” Then select your source drive, which is the drive you are currently booting from.Click “Next,” then select your destination drive.
Now, click “Next,” and after some computation, the utility will tell you that it will do the cloning after a re-boot. Close all applications and press “OK.” After the re-boot, you will get a screen like below:
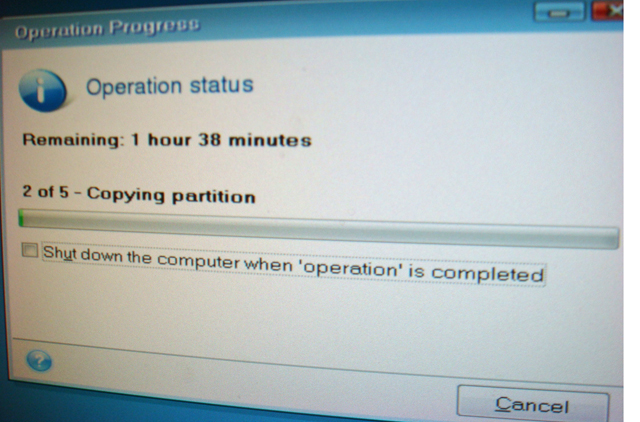
And yes, it does take over 2 hours for the cloning operation to complete. Once done, you can verify using Windows that the new drive does have the files cloned properly. Then to test the booting, use the BIOS to switch the boot default drive to the newly cloned drive. If it boots properly, everything was cloned properly.
There is one last step you need to do. If you have an old BIOS like mine, the second 2TB needs to be setup as a partition so that it can be used as another drive. To do this, go back to the DiscWizard and it will automatically bring you to the “Allocate Extended Capacity Disc” option. Click on “Allocate Space,” then “Apply,” which will install a driver that will make the second 2TB look like another physical drive to the OS.
Next, you need to connect this new space to a drive letter. Click on “Add New Disc” and select the “Not Initialized” item in the list as shown below:

Press “Next,” then on the next screen, select “Initialize disc in MBR” option. This is because the “GPT” layout mode is not available for boot drives using older BIOS. Click “Next,” then on the next screen, double click on the gray status area at the bottom, showing the unallocated area. This will bring up a dialog box which allows you to set the number and size of partitions. Normally, you would only use one partition here. Now enter the name of the drive in the “Partition label” box, then press “Accept.” Finally, click next, then “Proceed.”
Seagate has a nice Youtube video showing you step by step how to do this step.
After all this work, you can see that my boot drive now has 1.97TB of space and my new drive F has 1.63TB of space.

Although my old computer is unable to have just one partition with the entire 4TB of space, I’m used to having multiple drives on my system so it’s not a problem for me. Other than having to have the guts out of my computer, it was a reasonably painless procedure and everything worked as advertised.
Update:
After this install, my Windows Update no longer works. More on this next time.