Here’s a quick way to setup your “Localhost” on Windows 10 when using EasyPHP.
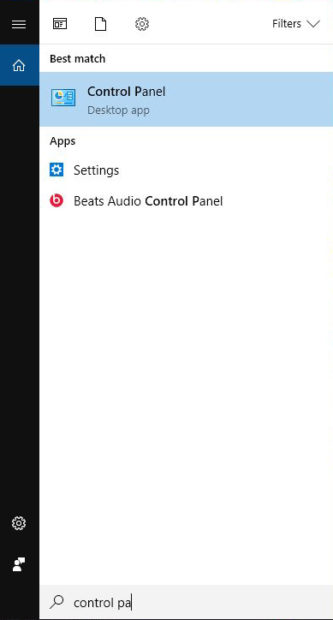
First, search for “control panel” in the Windows search panel. Click on “Control Panel” as shown below.
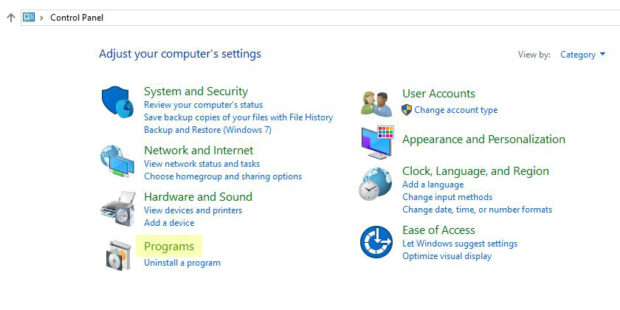
Next click on “Programs” from the Control Panel, as shown below.
Next, click on “Turn Windows features on or off” as shown below.

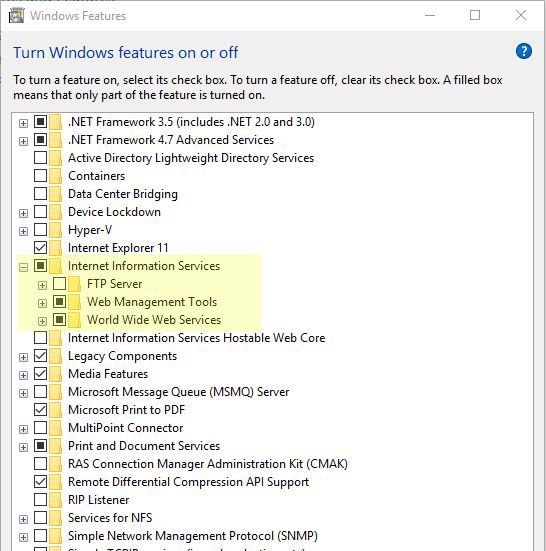
This will bring up a new window called “Windows Features.” This will have a bunch of check boxes as shown below. Expand “Internet Information Services” and you will see 3 sub-categories. Turn on “Web Management Tools” and “World Wide Web Services.” Press “OK” at the bottom and wait for Windows to make your changes.
You’re done! And you’re welcome.
Update 11/2017:
The instructions above may or may not work for your problem. I found that when my Windows 10 gets updated by Microsoft, my EasyPHP Devserver stops working with Localhost. To get it to work again, I simply go to the Apache setting and set the port to “80.” Your mileage may vary.
Update 8/2018:
This problem keeps happening to me and the original solution does not work. The 2017 solution works but I noticed that sometimes the pull down menu doesn’t list “80” as one of the options for Port. Unfortunately, I have not figured out why that option is sometimes not available. If anybody out there knows, please post a comment so I can let everyone know. When the port 80 is available, select it (shown below) and this will make “localhost” work properly.