After getting my new Linksys WiFi router, I had to go around updating all the WiFi connected devices. For the most part, things went fairly smoothly and I never had to read any manuals. That is, until I got to the Tado Smart AC controller.
The Tado app has no way to change the WiFi settings, once it’s already setup. To change the settings, follow these steps:
- Touch, then hold the middle of the Tado until you see a setup screwdriver and wrench LED icon
- Touch the up arrow until you get to the WiFi icon with a trash can to the right
- Touch the center area of the Tado to delete the current WiFi settings (The icons will blink)
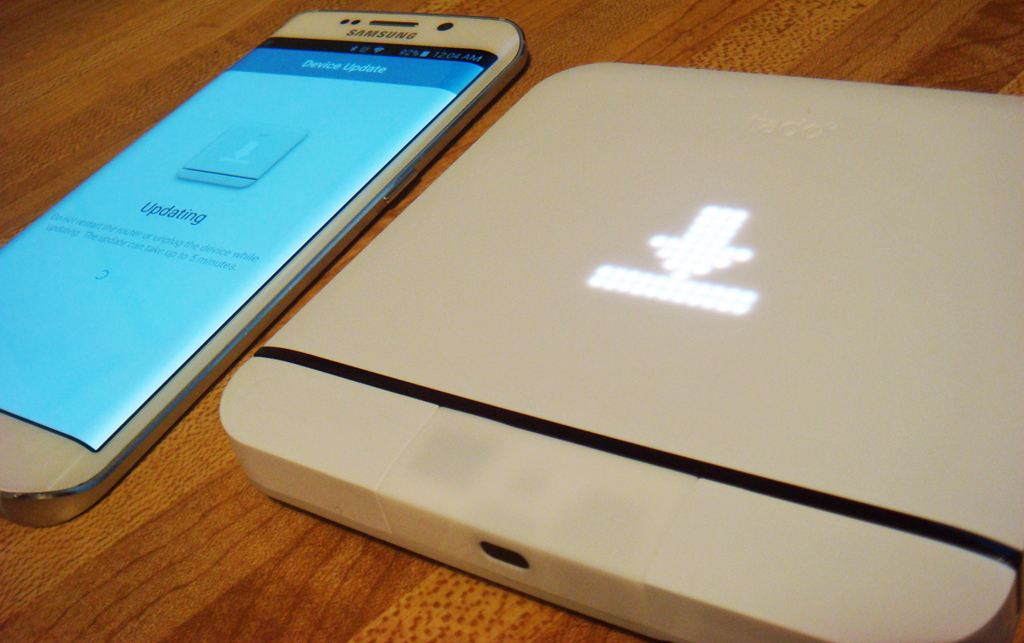
- Now the Tado will create a WiFi access point with the name “tadoXXXX” where XXXX are 4 digits shown on the Tado display
- Use your smartphone to connect to this WiFi. When you are connecting, you will see left/right arrows on the Tado LED screen.
- Once connected, open your browser and type in the following URL:
http://192.168.1.1/
- You will see the screen shown below. It will not re-size automatically so you may have to pinch-zoom to see it properly.
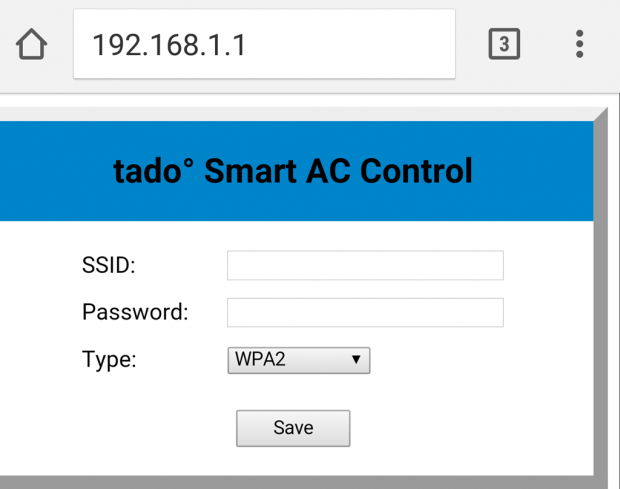
- Now enter the SSID (the name of your WiFi you are trying to connect to), and the password you assigned to your WiFi.
- Touch “Save”
- The Tado will show a WiFi icon, then when connected properly, it will show an earth and checkmark icon.
Compared to other apps and devices, this is easily the most complicated procedure that I had to go through. In fact, I’m not sure the average person could do this procedure properly.
Don’t get me wrong. I still love my Tado and use it all the time. But clearly, not everything about it is ready for prime time yet.