After a 5 part review of the Samsung Galaxy S4 (Initial Impressions, Part 1, Part 2, Part 3, Top 10 features), it’s finally time to review the camera on the S4.
Let’s first compare the image quality against my old Samsung Epic 4G and iPhone 4, which I compared before. The first picture below was taken with the Galaxy S4 in 2048 x 1152 resolution and in auto mode. Notice that the S4 can take pictures in up to 4128 x 3096 if you need that much resolution. For my work, that’s too much resolution.
You can click on the image to see the full resolution version of the image. Also note that this is in 16:9 aspect ratio instead of the normal 4:3 aspect ratio. I like this wide mode better because it’s like HDTV.
Below is the same subject taken with the Samsung Epic 4G in auto mode. As you can see, compared to the S4, it looks a little washed out.
Lastly, the same subject taken with the iPhone 4. You can see that the sky is completely washed out and the color seems to be a little off.
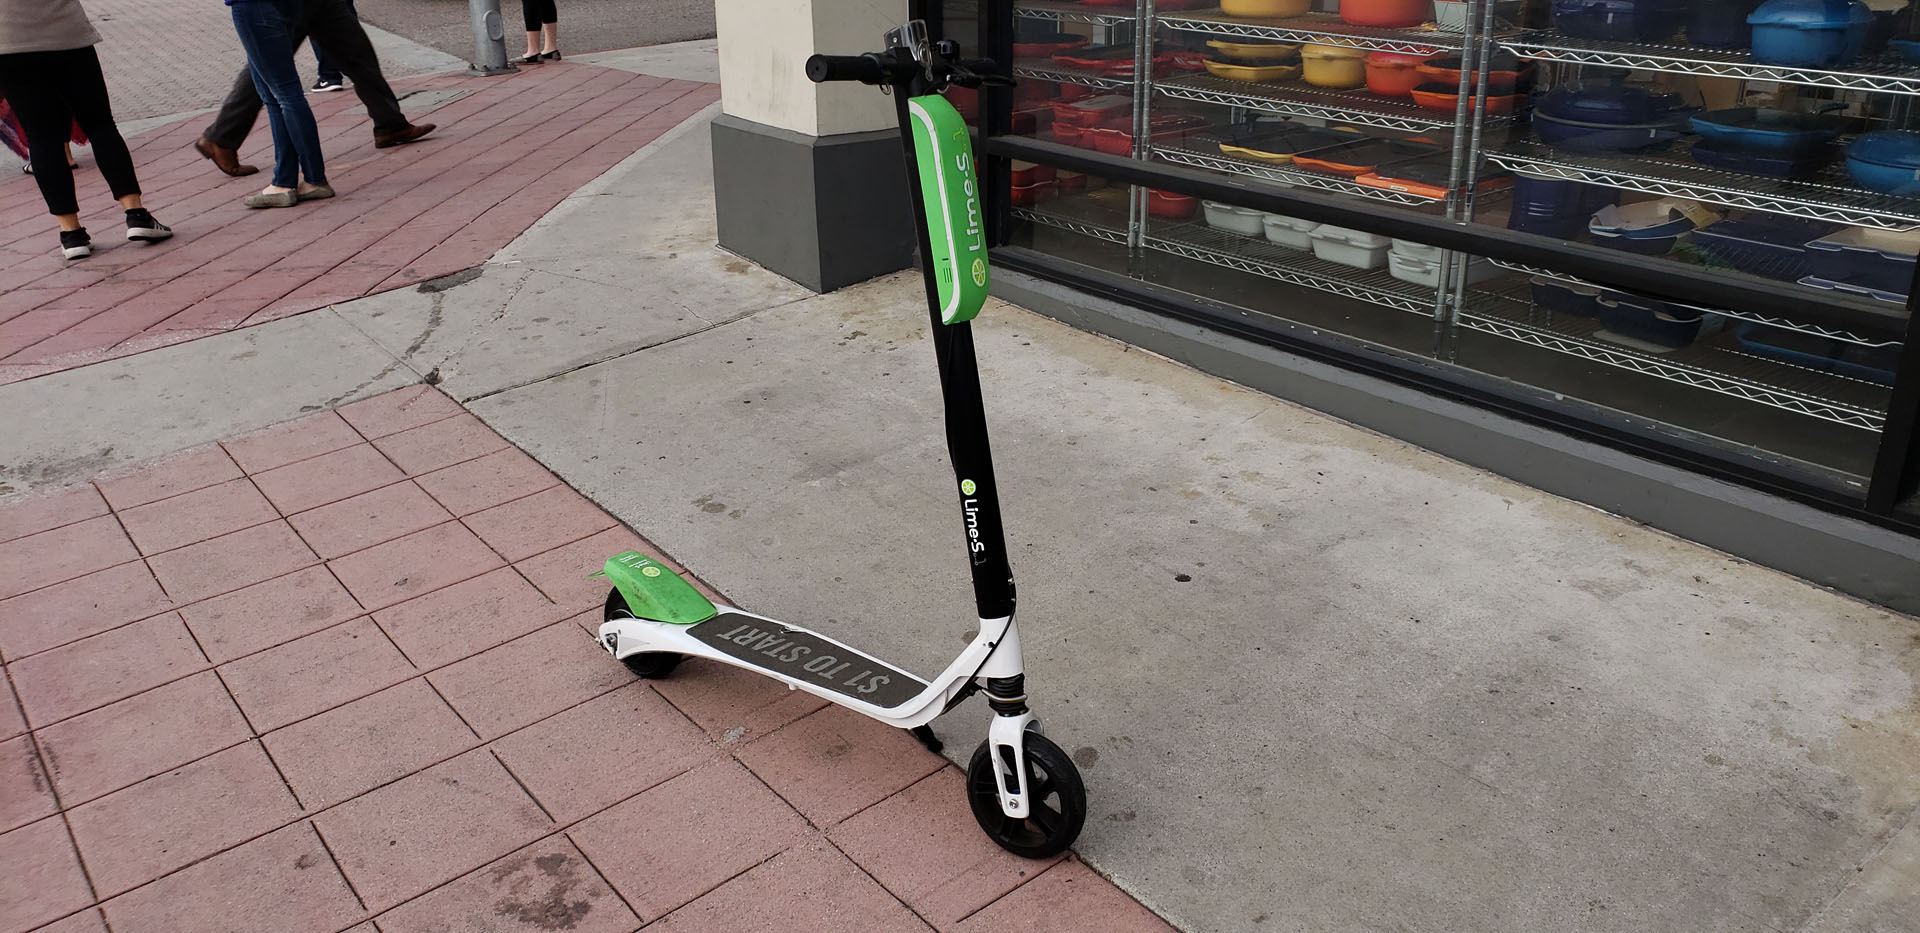
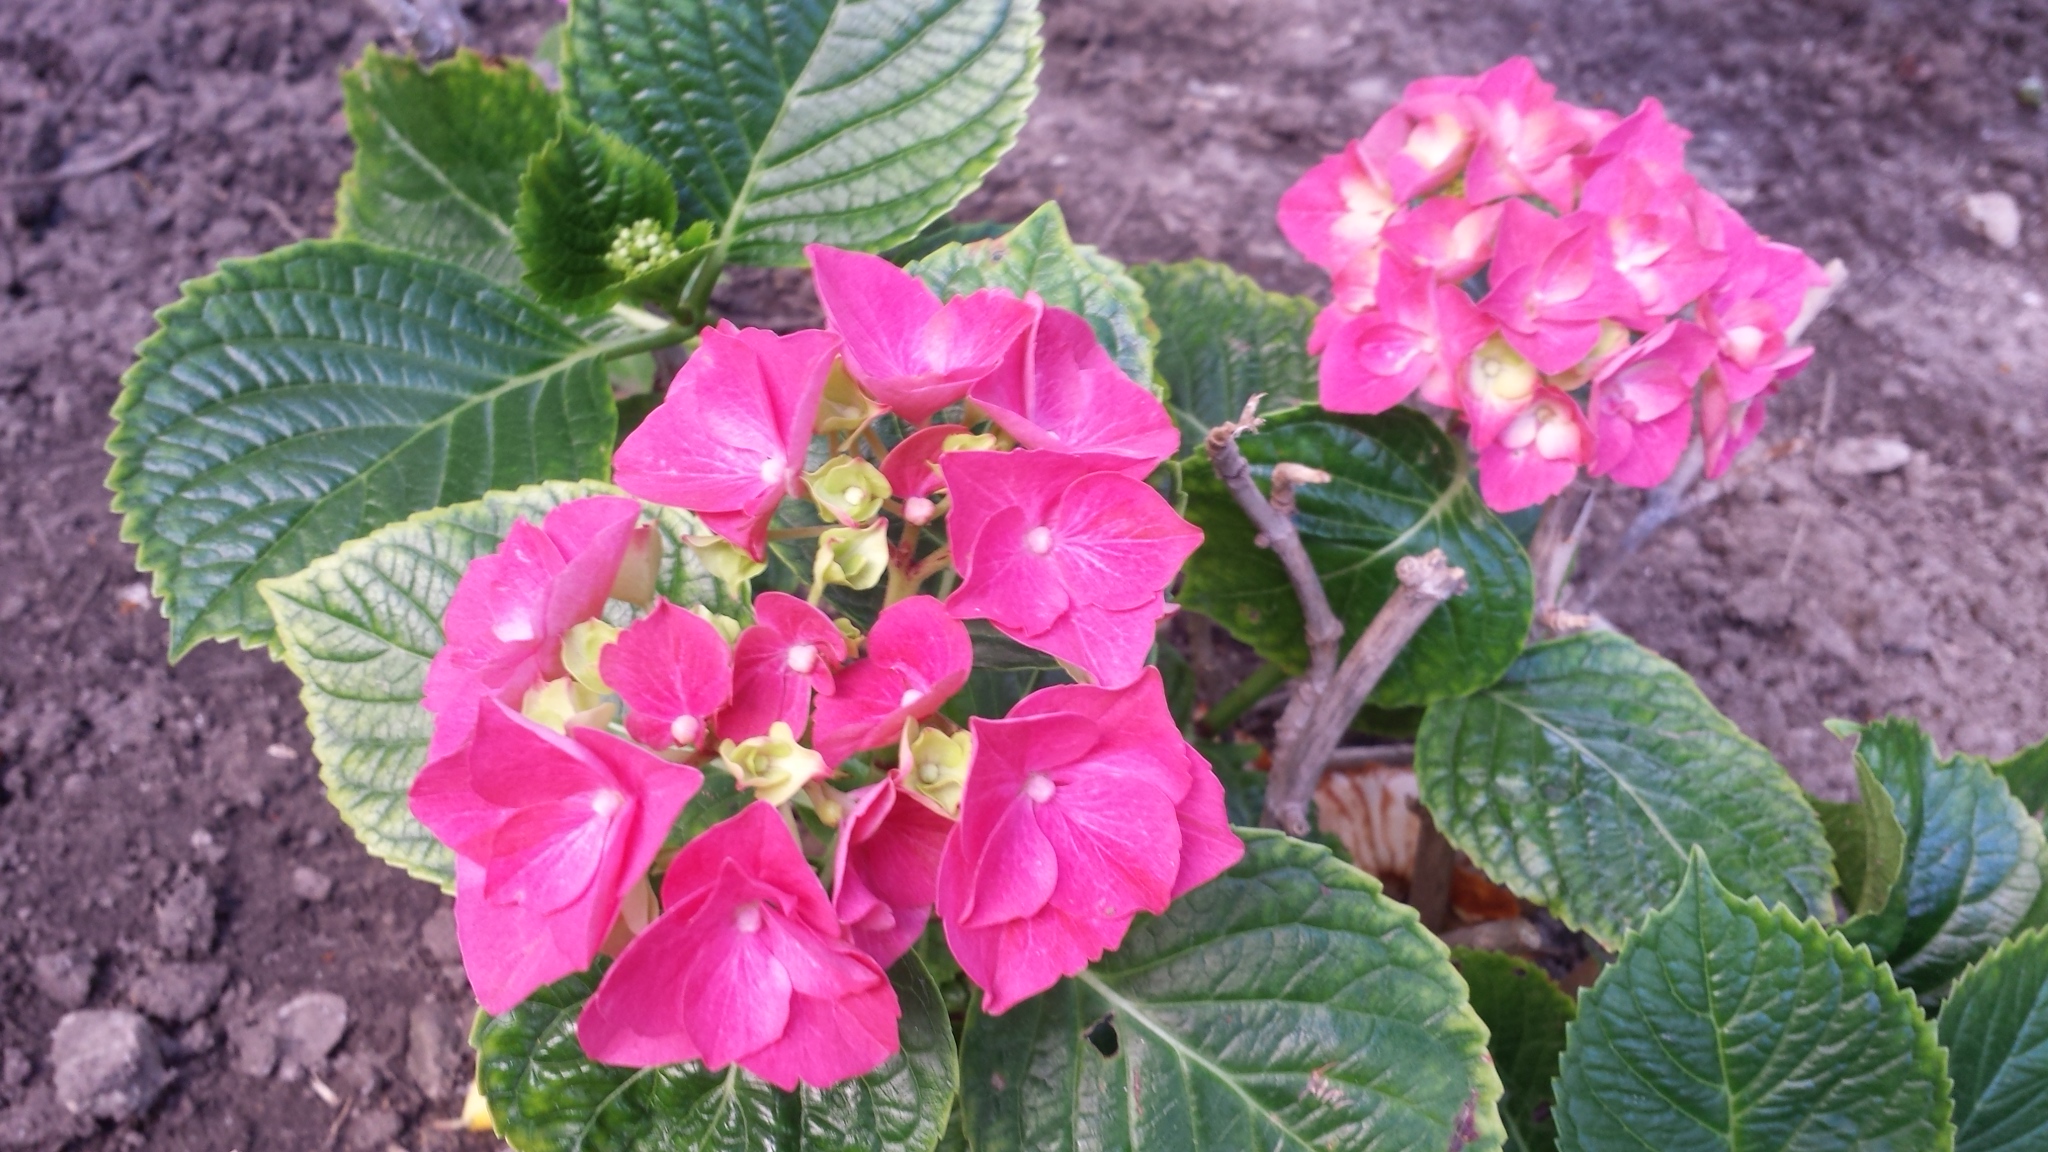
Here are some pictures that I took with the S4 using natural direct lighting and showing the auto focus feature.

The picture below is in non-direct daylight using auto mode and the auto focus by touching the screen. I had to take several shots to get the focus just right.
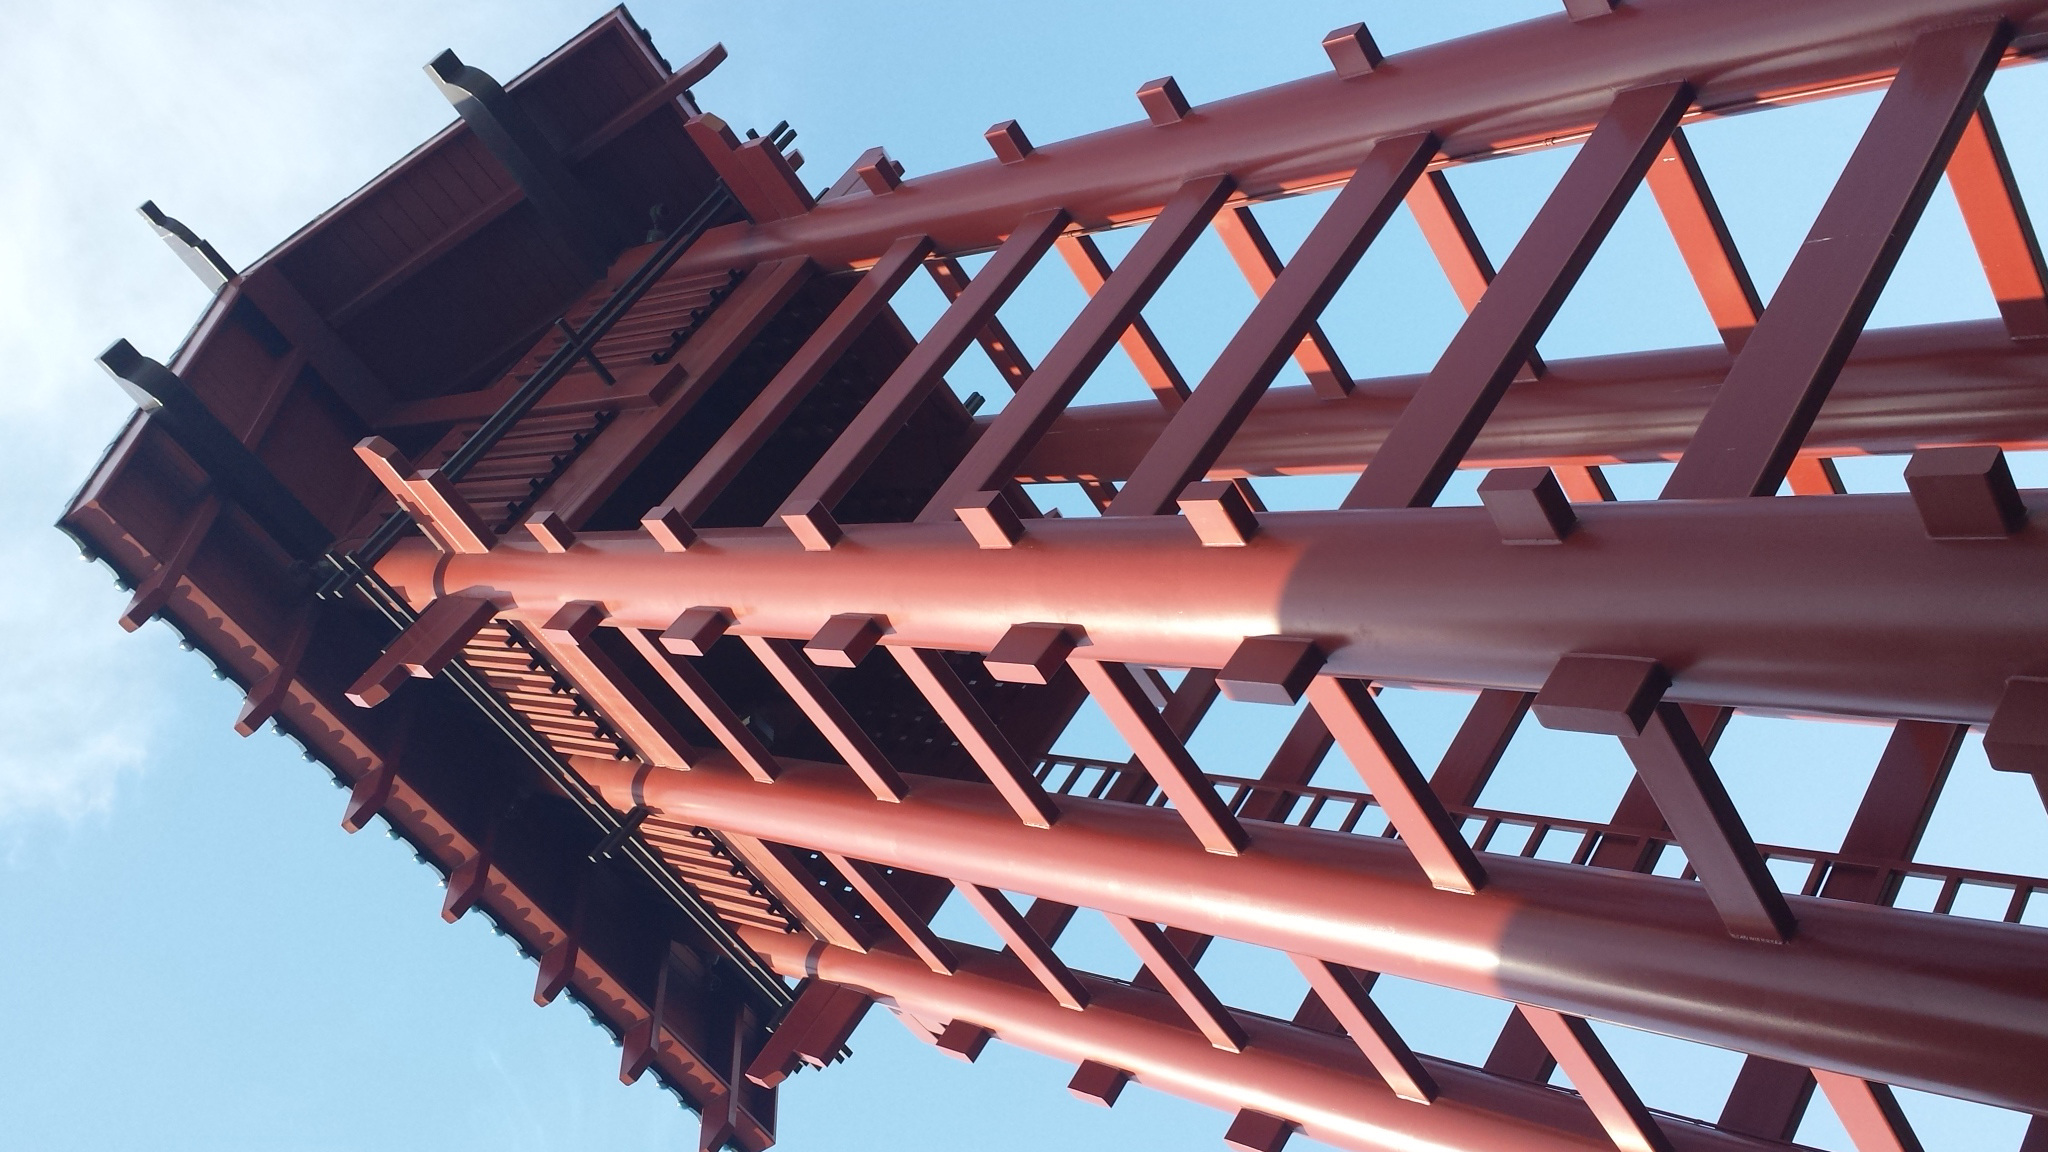
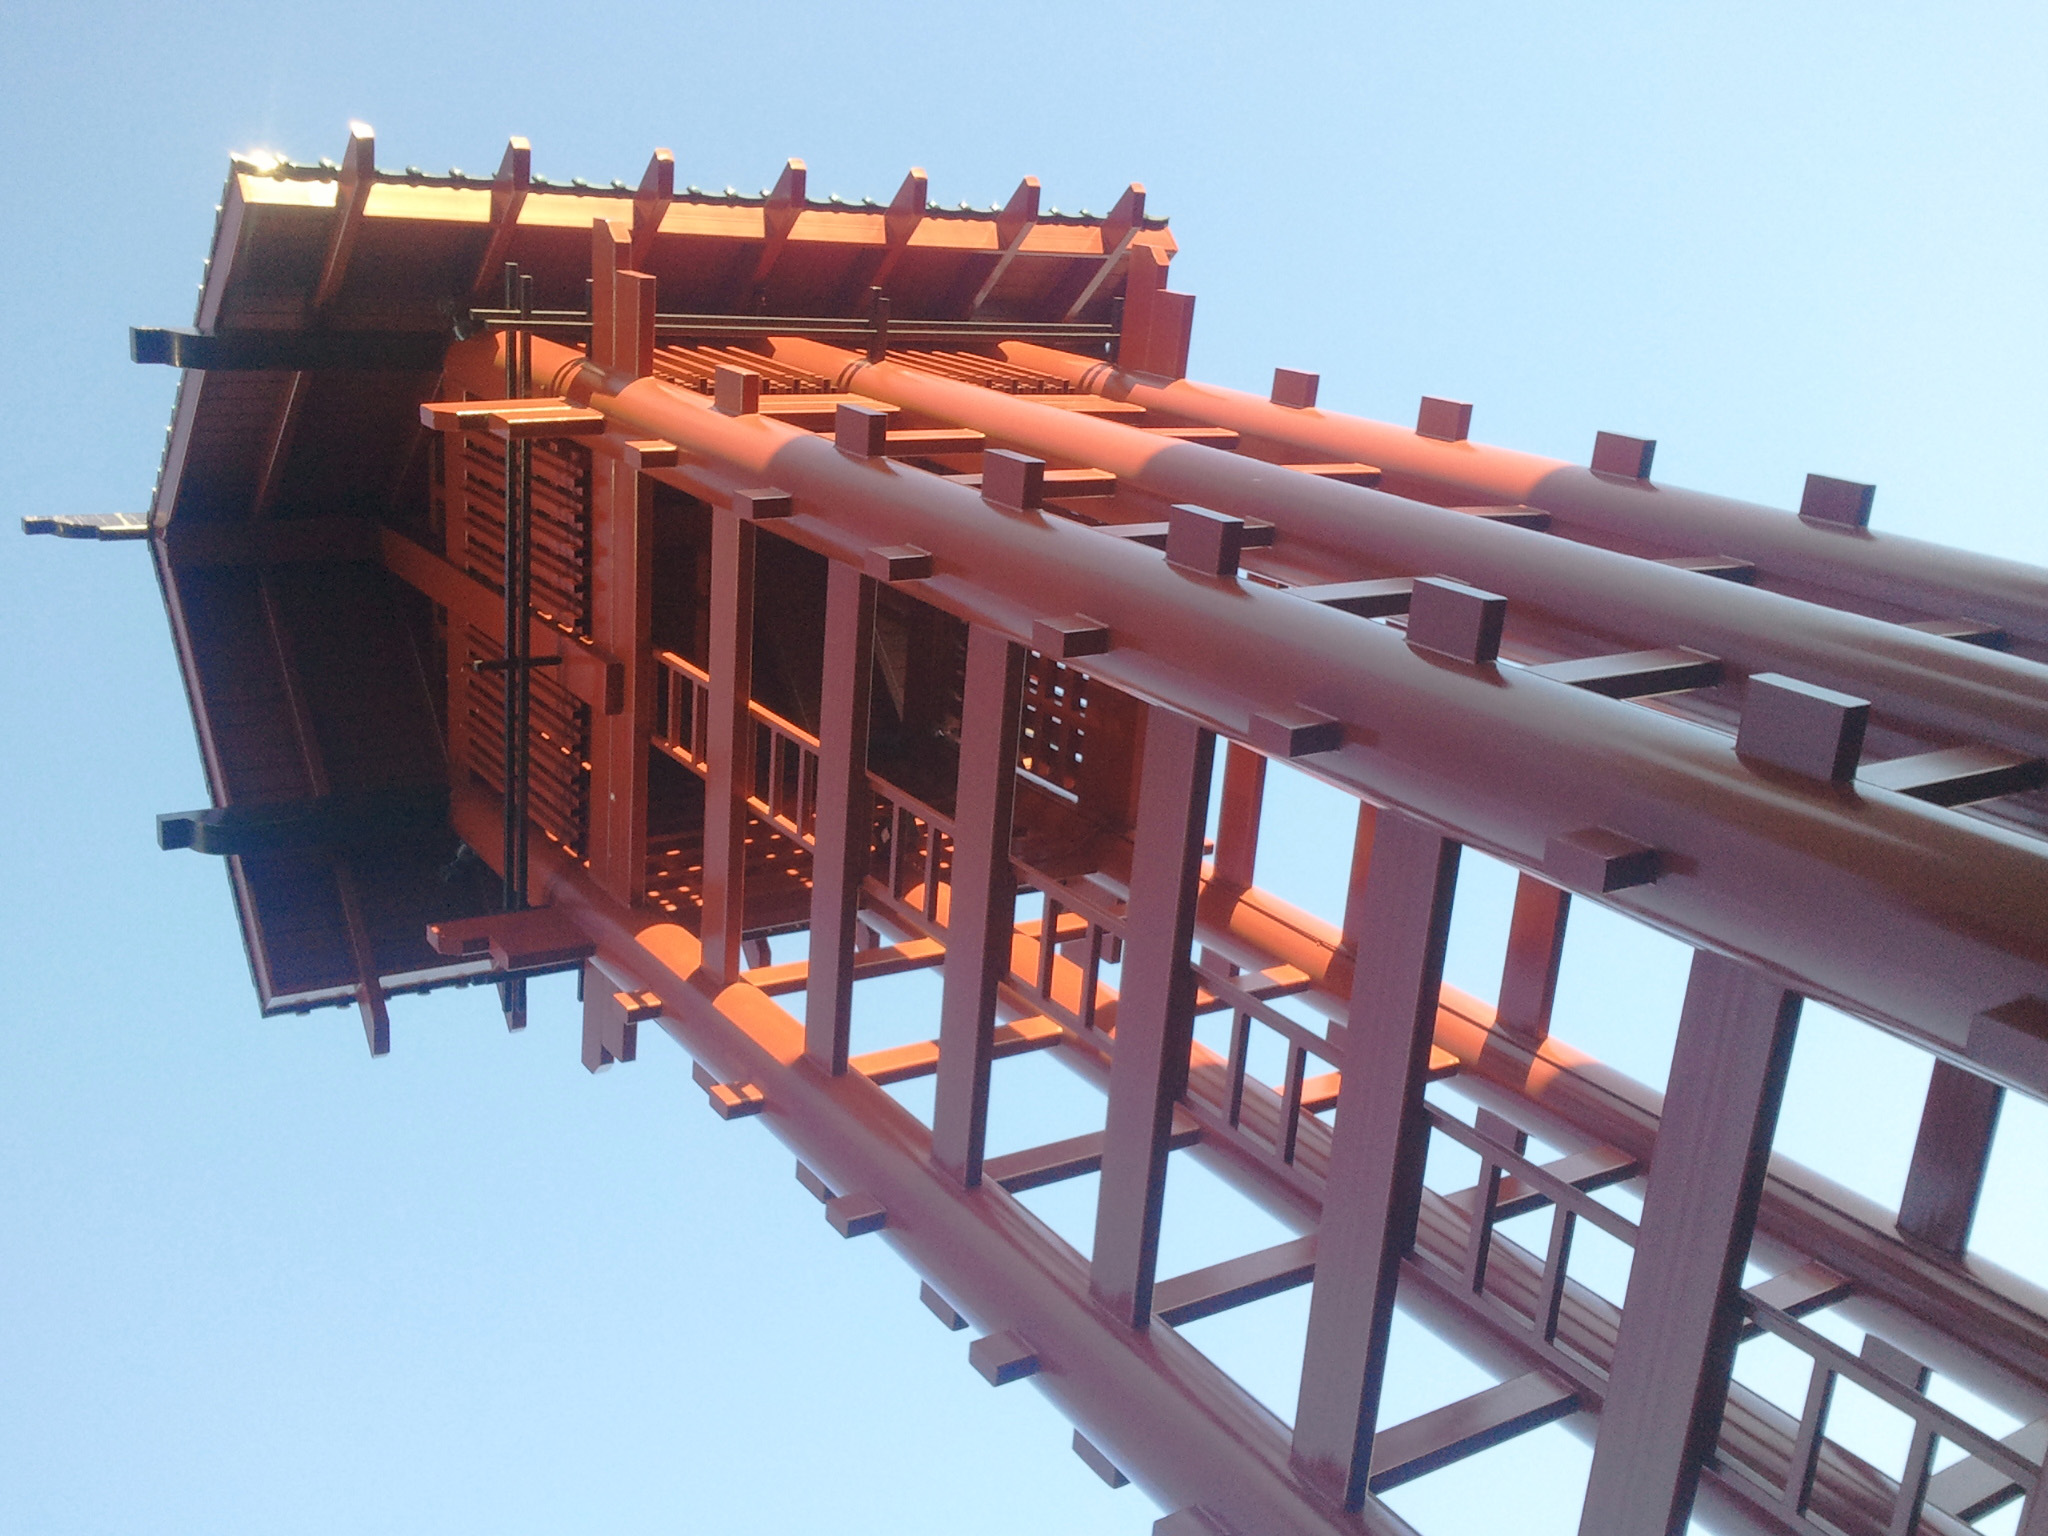
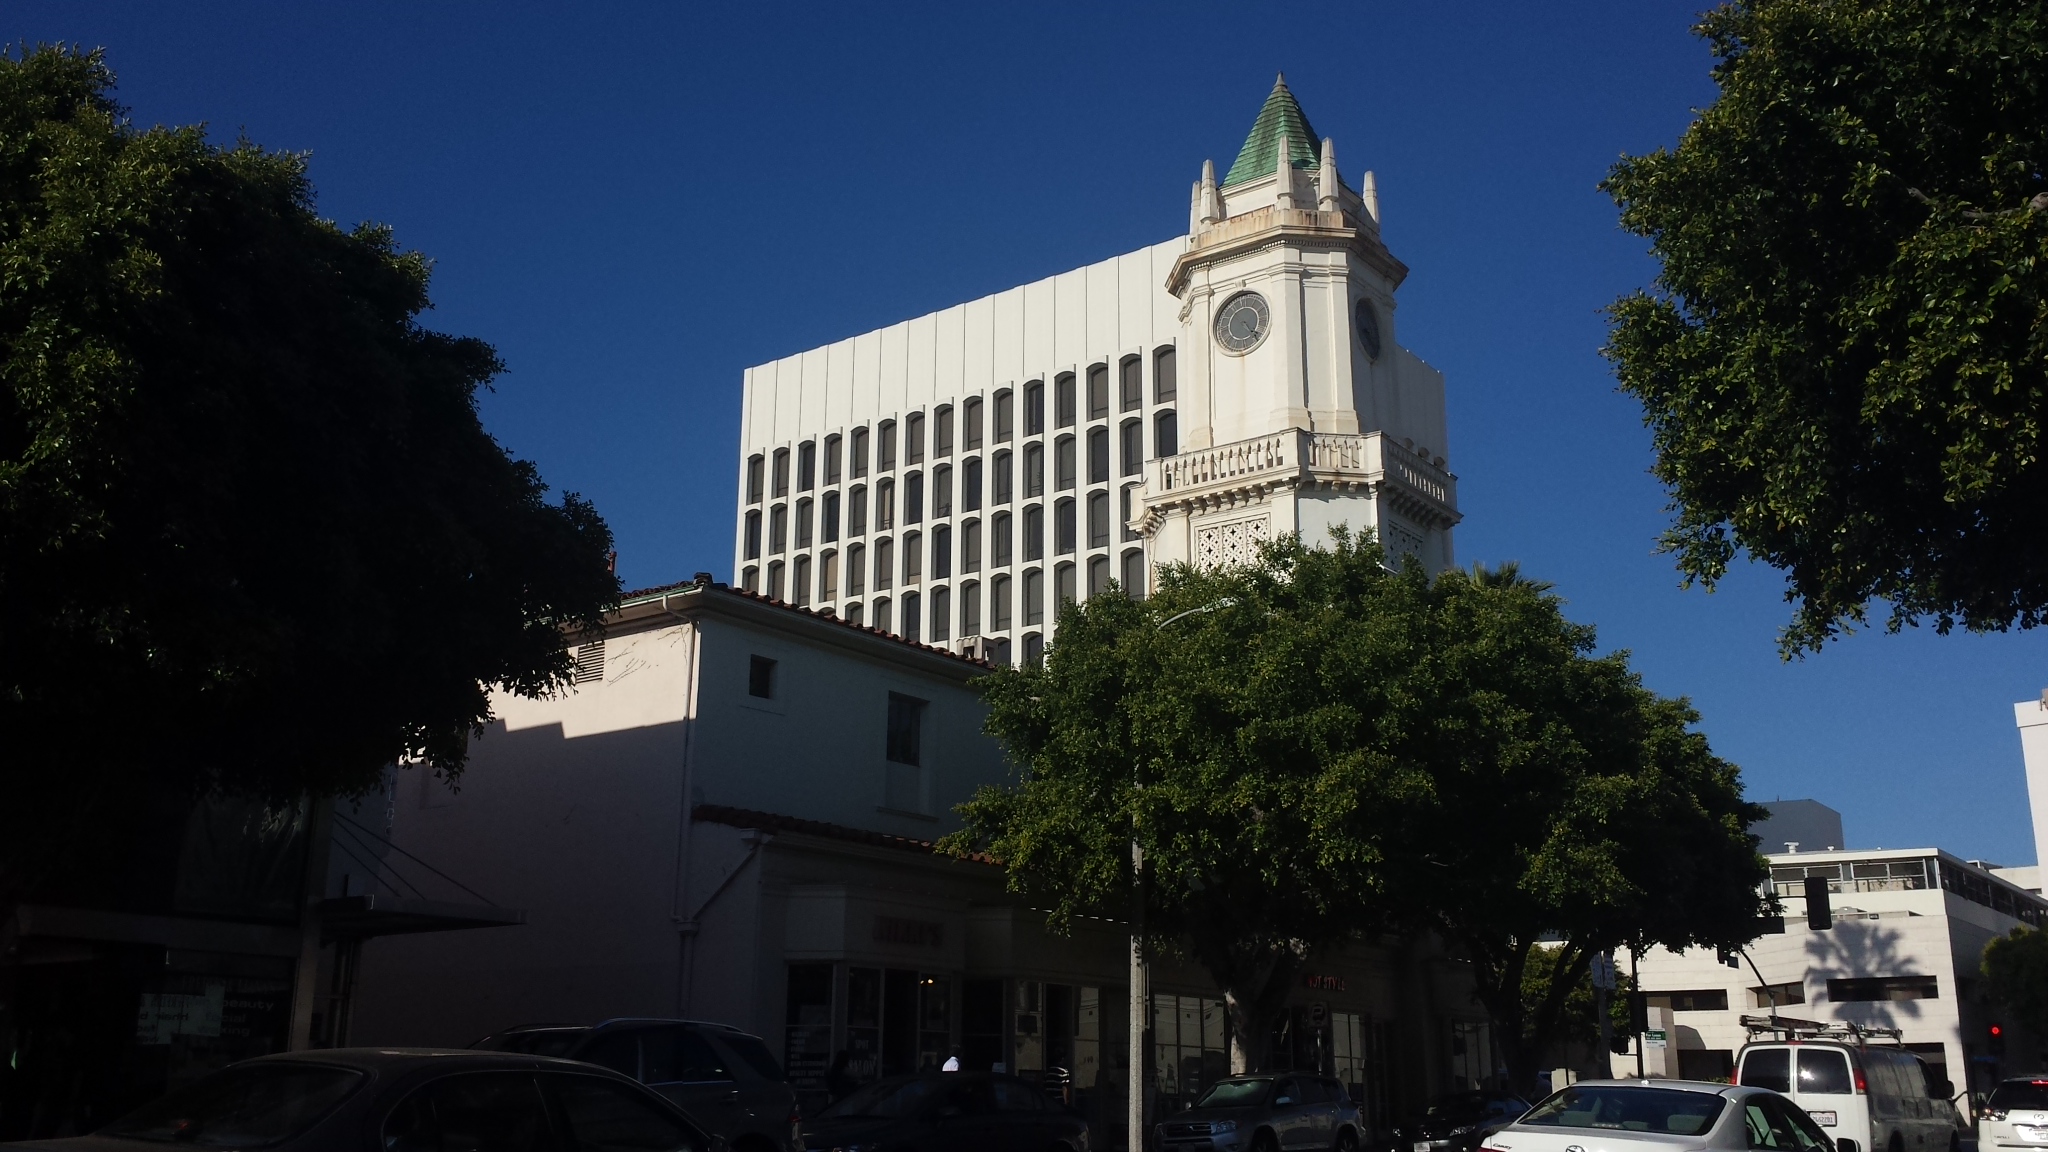
The next picture shows the S4 camera in the most wide angle possible.
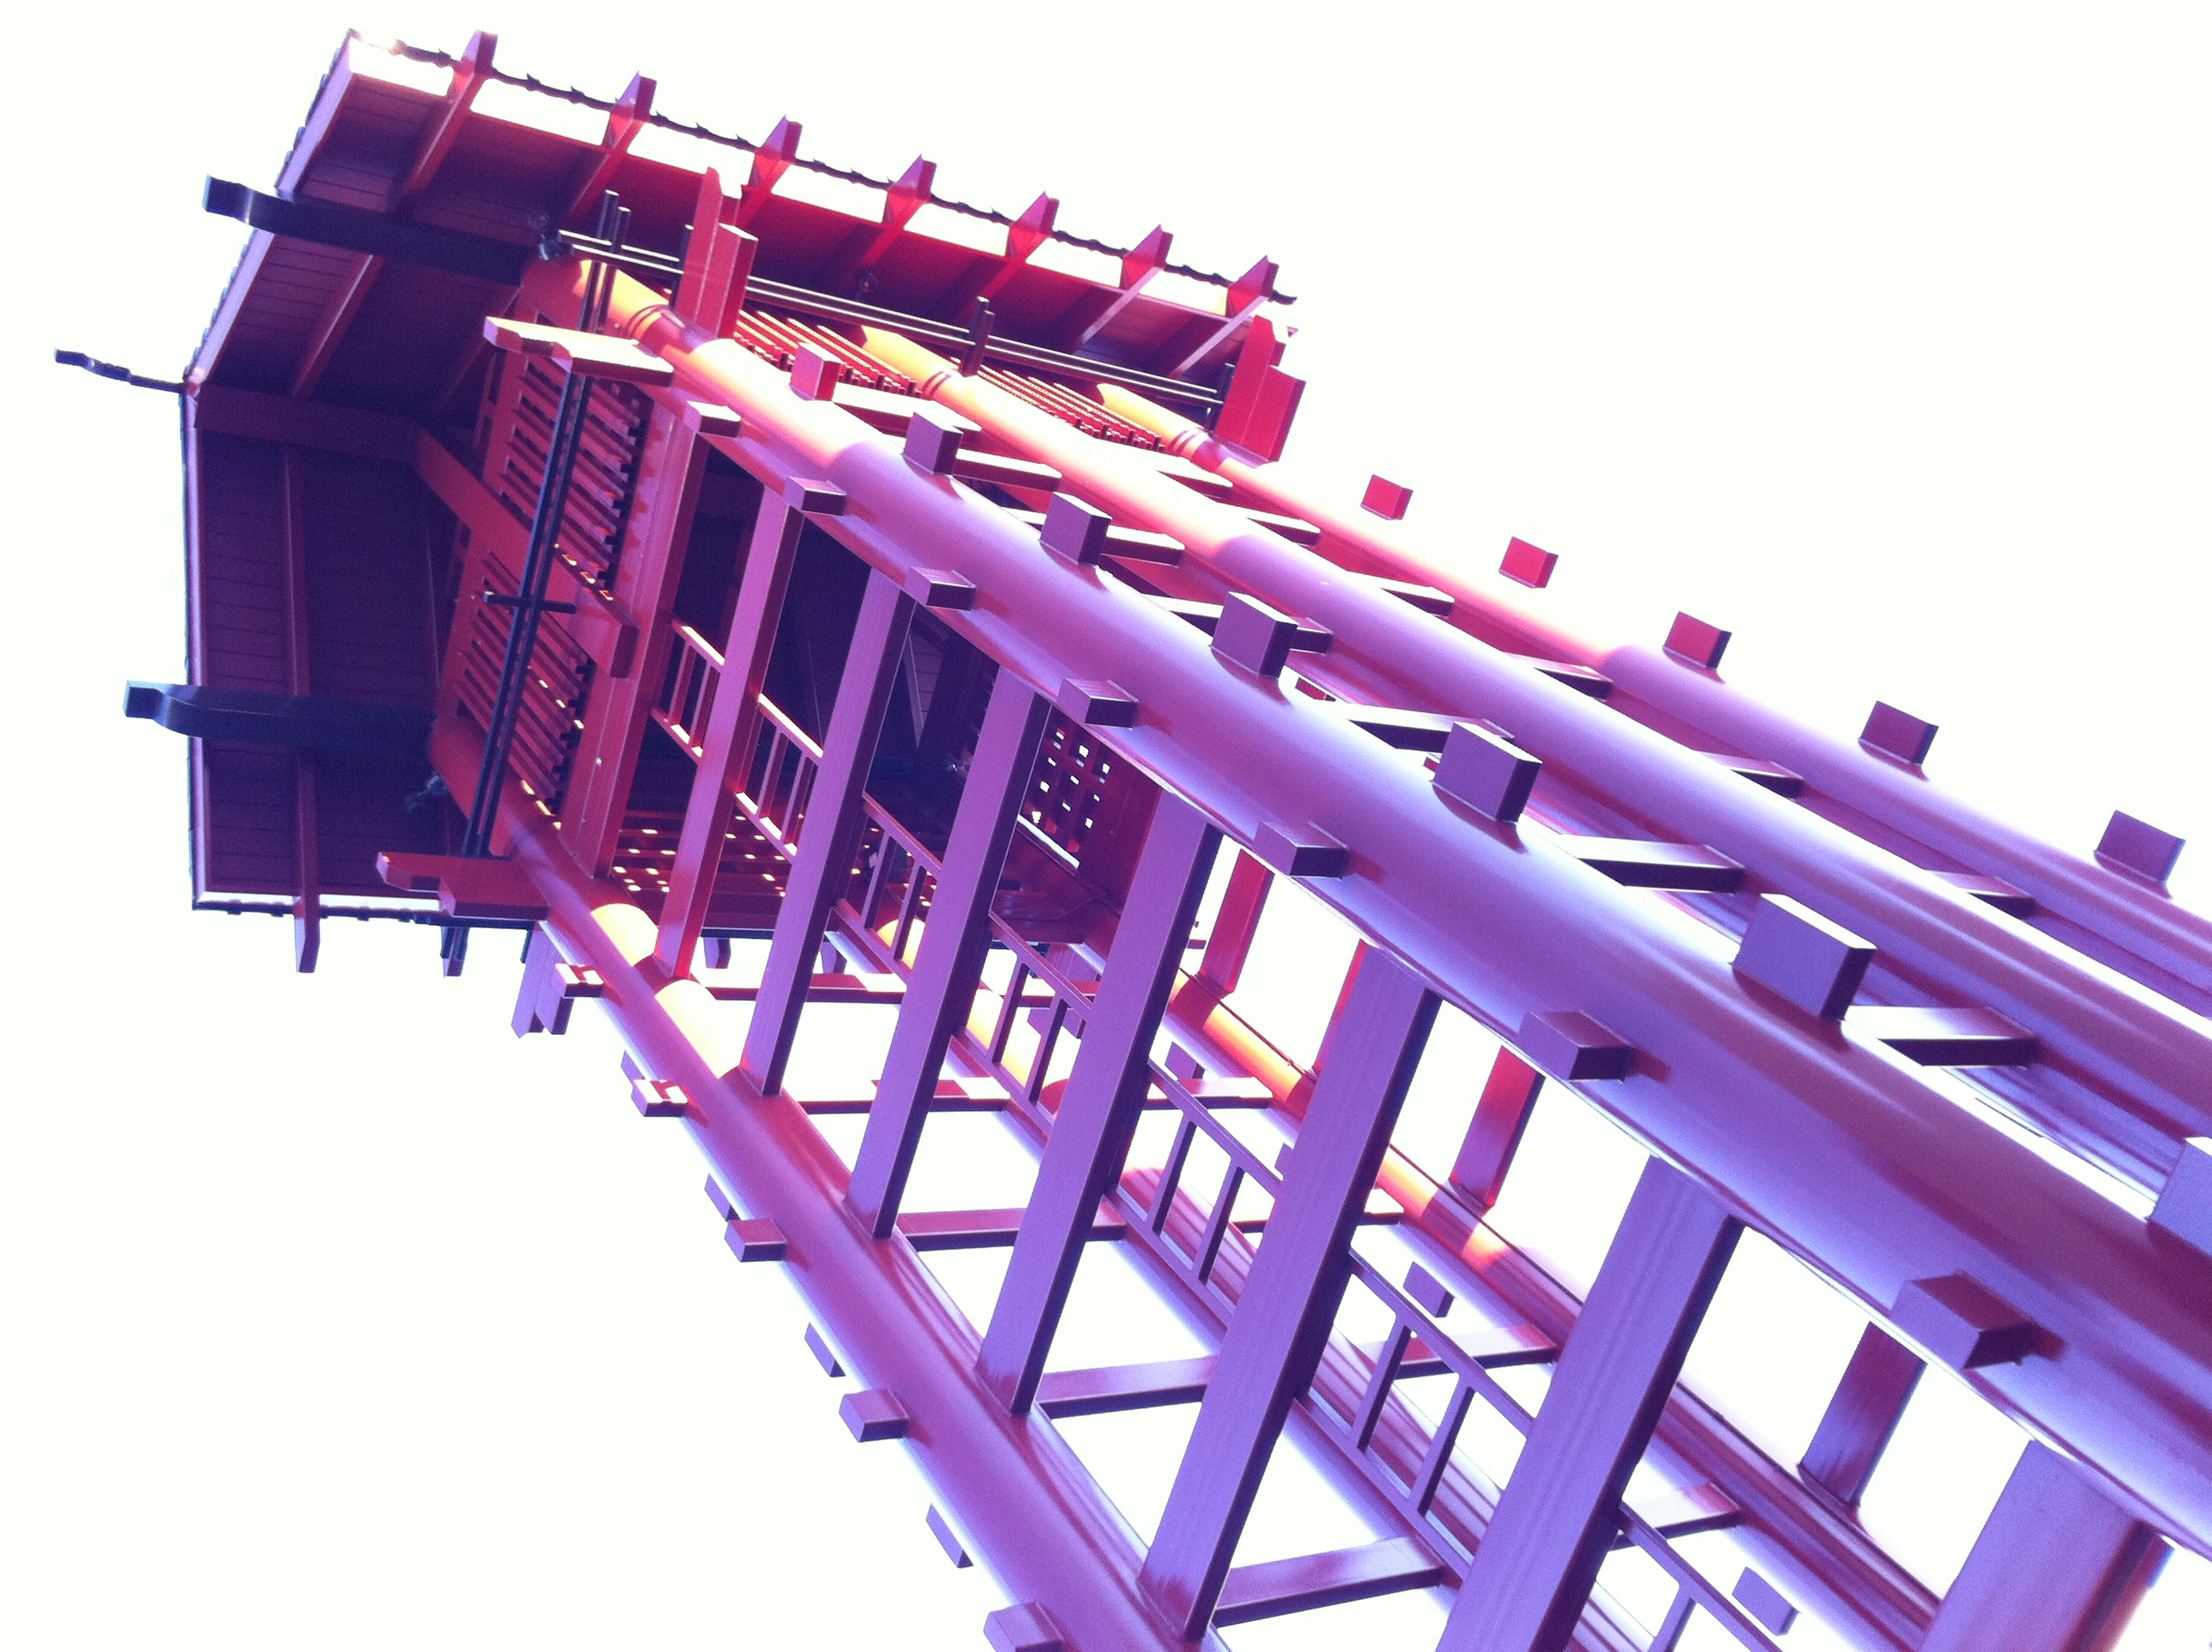
From the exact same spot, I used the pinch zoom feature to zoom-in on the tower shown in the previous picture. If you click on the picture below, you can see that the picture quality degrades when you use the zoom compared to the un-zoomed picture. However, as you can see, it does do a good job of zooming and could be useful when I cannot get closer to my subject.

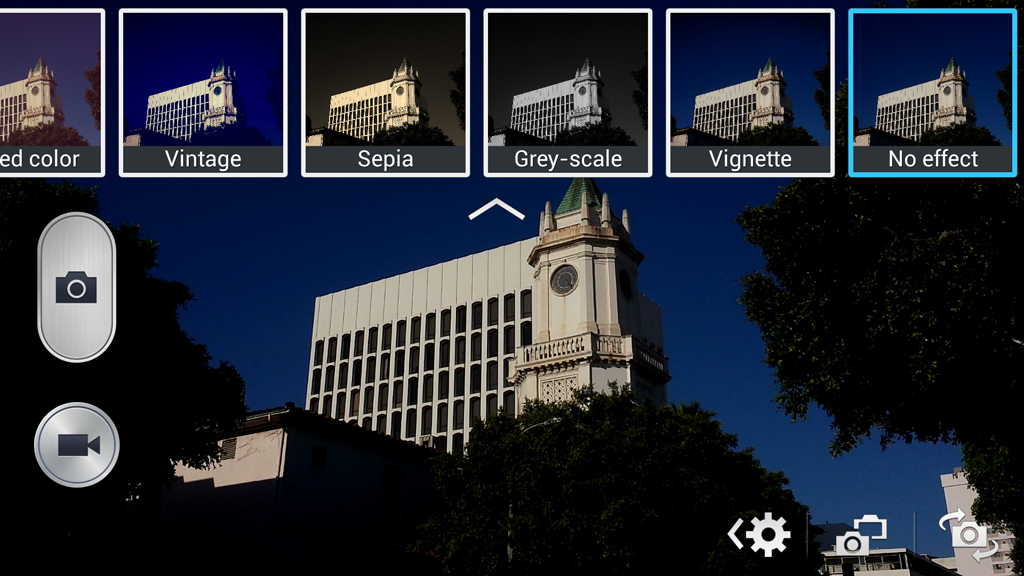
The camera also has Instagram-lite type “effects” that you can apply to the picture while you are taking the picture. Frankly, I don’t really know why you would apply effects as you are taking the picture because then you would not have the “original” image, which can always be manipulated later. I doubt I would ever use this feature.
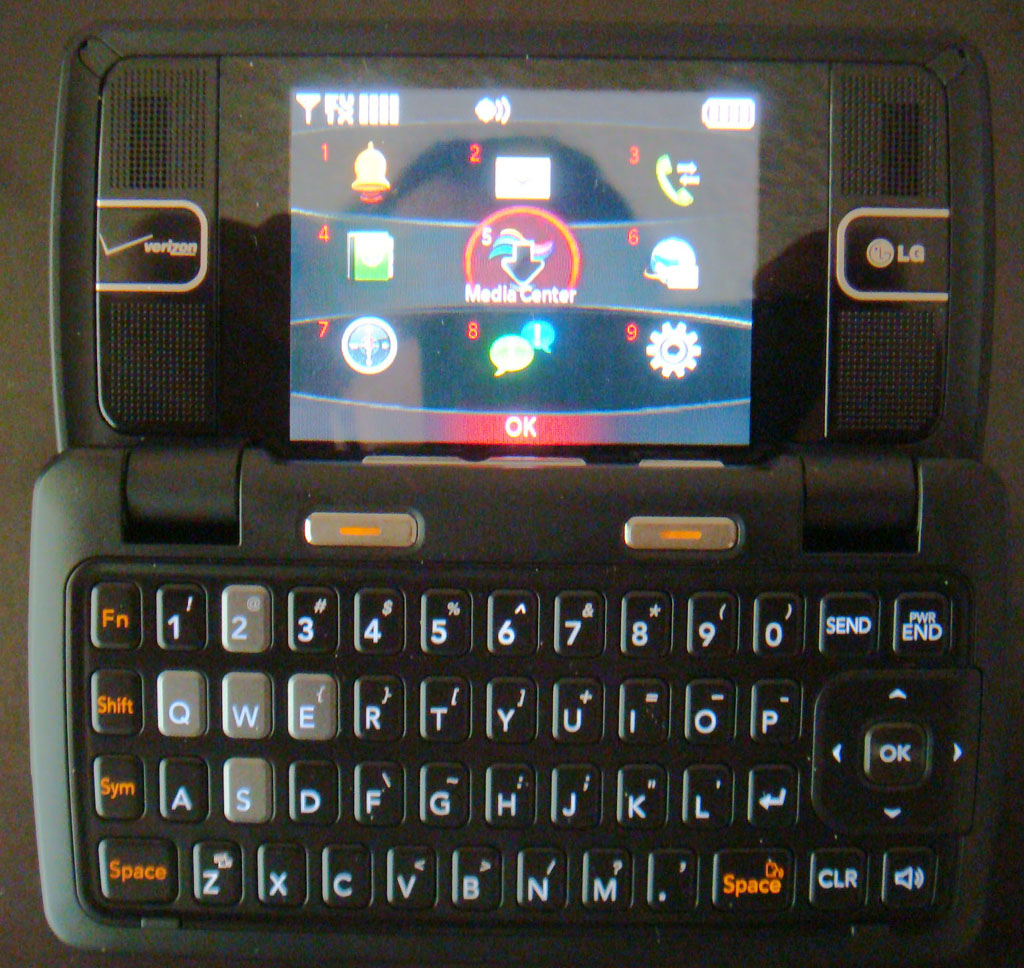
As mentioned before in my previous article, the camera has an overwhelming list of features that can be selected from the list shown below. Most people will just leave it on “Auto” but there are modes that may of be interest to some people. Note that you can either have all the options shown like below or switch to a scrolling style. The full flat layout is easier and faster for accessing the different options than having to scroll through the options.
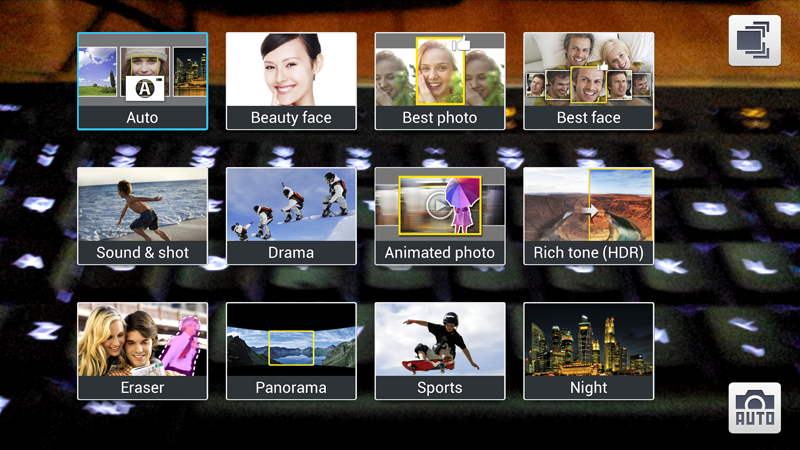
Each option will be explained and reviewed below.
Auto
This is the mode that you will normally use and it works pretty well. I noticed that it will automatically make color corrections after you take the picture, while it is saving it to your phone.
Beauty Face
This mode is supposed to make faces look better. There are 2 problems. Most of the time, you don’t know that you are going to be taking a picture of somebody’s face so it will not be in this mode. It would be better if it could be applied after taking the picture. Secondly, it was very hard to see any difference in the pictures I took in this mode. It looks like it tries to apply a filter that smooths the face a little but it’s hard to tell.
Best Photo
This mode takes 8 pictures in a burst and tries to figure out which one is the best one and puts a thumbs up on that one. Unless you are trying to take a picture of something moving and is difficult to capture, all the pictures will look almost identical. Also, you have to know in advance that you are taking a picture of something hard to capture. By the time you realize this, and try to put your camera in this mode, the moment is gone. It would be great if the camera could figure out for itself that it has to go into this mode. Now that would be useful.
Best Face
This mode is very similar to the “Best Photo” mode but is for faces and only takes 5 instead of 8 burst shots. Once again, you have to know that you are taking a portrait before hand and put it in this mode. This works a little better if your subject is changing expressions or trying to smile. The instructions says that you can save multiple pictures from the burst but I have not figured out how to do that.
Sound & Shot
This mode saves a short sound-bite along with the picture that will play when you see the picture on your phone. However, this only works on the phone and not if you send it to anybody else. It would make a lot more sense to just shoot a short video instead. I will never use this feature.
Drama
This is yet another gimmicky mode that will combine multiple burst pictures into one by extracting the moving object in each shot. The idea is to make a dramatic single shot of somebody jumping or running. In reality, the subject has to move in the exact area that you want them to, and if you are trying to use it in a real sports situation, it rarely works well.
Animated Photo
This mode makes a GIF animated image automatically without having to use a program. Click on the image below to see this effect. There are options to loop in reverse or freeze certain parts of the image.
Originally, I thought this would be cool to use for Facebook or other social media websites, but the GIF file is too large and many websites (like Facebook) just converts the GIF to a non-animated picture. It would be useful if it would take out more frames, and automatically reduced the resolution so that the file size could be more manageable. For now, it makes more sense to just shoot video.
Rich Tone (HDR)
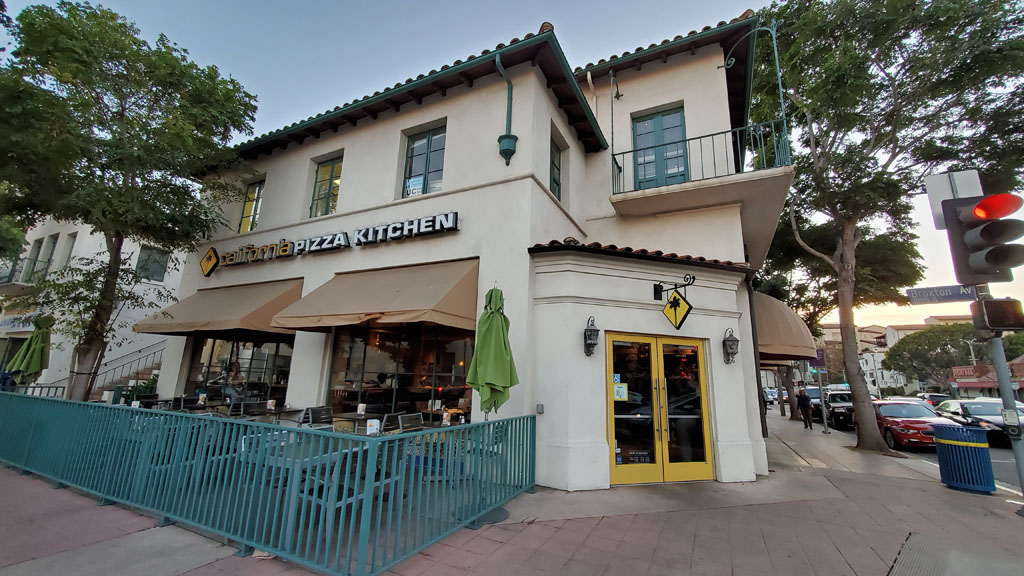
Photoshop has had HDR mode for a while and many people use this feature. It’s interesting that the camera can do it automatically and you can see the result below. The first picture is in regular auto mode.

The picture below is the same picture in HDR mode. As you can see, the sign is less washed out and the dark areas are much brighter like you used a filler light. This is one of the few modes that can be very useful.

Eraser
This ridiculous mode attempts to remove objects or people that get in the way of your photograph. The reason why this is ridiculous is because you have to know in advance that you want to do this. The only time that you might be able to use this would be when you are trying to take a picture of someone or something and people keep walking behind them because it’s a high traffic spot. You can switch to this mode and try again but you have to keep the camera very still for it to work properly.
As in the “Best Photo” mode, this would be great if the camera could automatically figure out that it needs to be in this mode.
Panorama
The S4 steals, I mean copies the Panorama mode from the iPhone and it works pretty well even if things are moving a little. Click on the picture below to see the larger version.

Sports
This mode is actually useful for people taking pictures of moving objects as in a sporting event. Of course, you would already know that you need to be in this mode because you are at the event.
Night
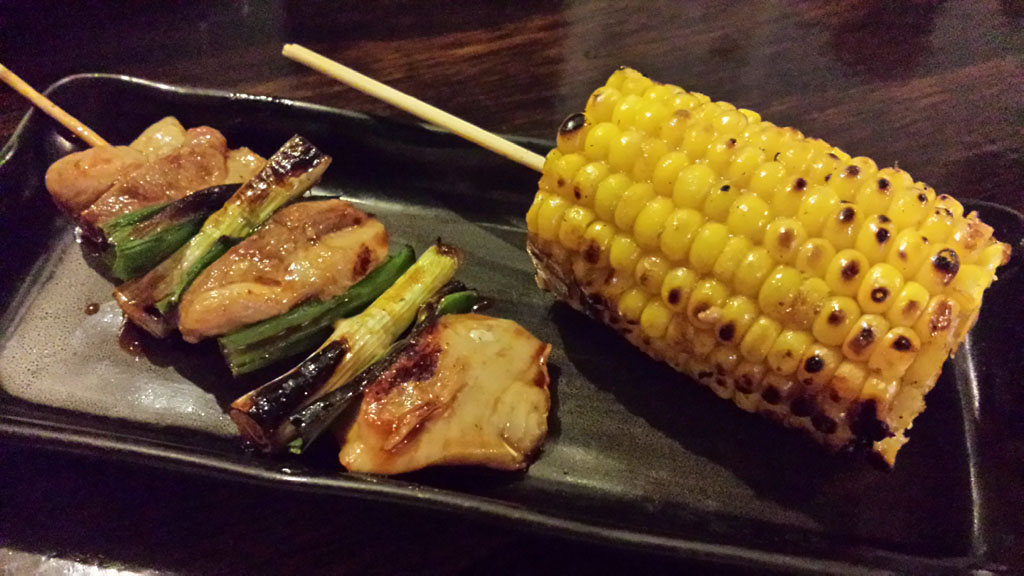
And finally, one of the most useful modes is this mode that basically brightens your subject in dark lighting. You can see below how the Yakitori in auto mode looks very dark.
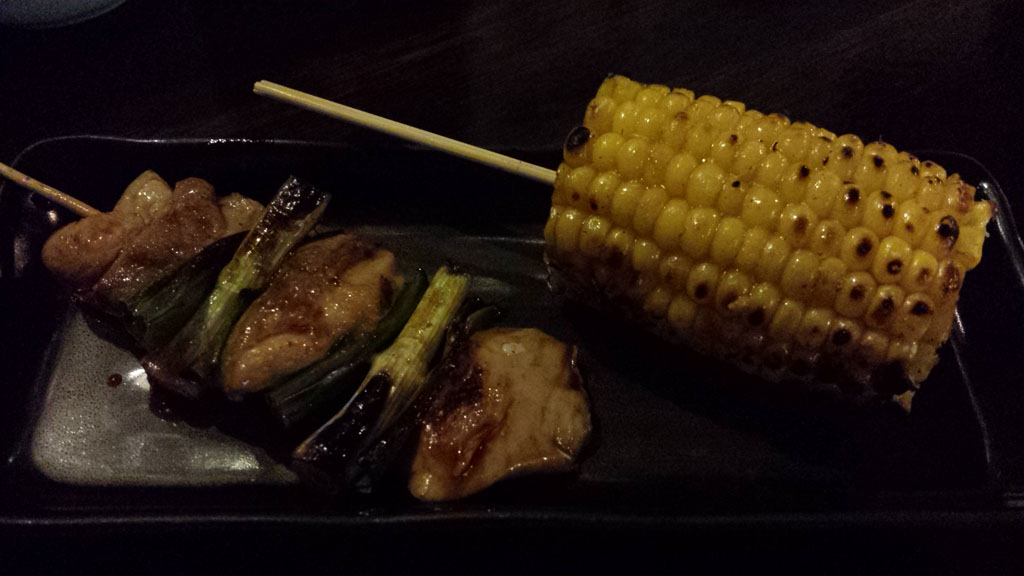
And in this second picture, I used the “Night” mode and you can see how much brighter the picture looks. It’s so bright, it almost looks like I’m using a flash.
Next, let’s take a look at video recording. The following video is from the same spot that I made the Panorama picture above. I’m panning just using my body so it’s a little shaky but you get the idea. You can also hear the ambient noise from the mall.
The next video shows the same zoom from the picture before, except this time it is a video of the tower. As you can see, the zoom works pretty well and the zoomed image is acceptable.
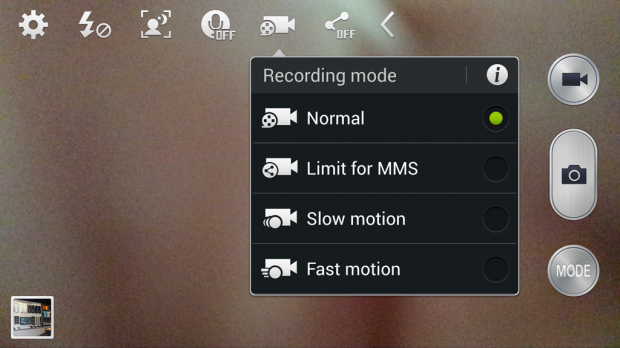
There are a few options for video recording, including limiting the size for MMS. This is a very cool feature for people that like to send videos via text messaging instead of email. Also, you can record in slow motion or fast motion.
Here is a very short video in fast motion taken in Westwood. As you can see, hand holding the phone is not a good idea for fast motion. You should probably prop up your phone so that it is steady when in this mode.
All in all, this is the best smartphone camera that I have ever used. There are too many features and it could be confusing to some users. While other features could be improved in future versions of the firmware. However, some of the features are fantastically once you figure out how and when to use them. Bravo Samsung. Nice job.
Review Overview
Resolution
Image Quality
User Interface
Features
Excellent
The best camera phone I've used to date. Some features are gimmicky but others are useful.